


2. Use u and i to move the highlighting to ”BLOCK FORM” and then press SET.
3. Specify whether you want your specifications to apply to one block or all blocks and then press SET.
• If you specify one block, the specifications you make will be applied to the block where the cursor was located when you pressed FORM.
• Use u and i to move the highlighting between menu items.
• The BLOCK FORM menu has two pages. Press SET while the first page is displayed to change to the second page. Pressing SET while the second page is
displayed registers any settings with the menu and returns to the text input screen.
• Use t and y to change between settings of the currently selected (highlighted) item.
• The following explanations describe each of the BLOCK FORM menu items in detail.
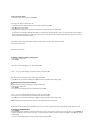
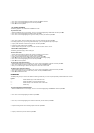
DIRECTION
HORIZONTAL VERTICAL
ALIGNMENT
LEFT CENTER
RIGHT EQUAL (Uniform Spacing)
JUSTIFICATION
This item lets you specify justified (even) or ragged (uneven). The following shows some examples of how justification affects text.
• Justification is applied only when EQUAL is selected for ALIGNMENT.
Examples
• Justified • Ragged
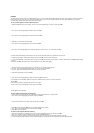
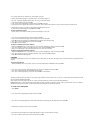
CHARACTER PITCH
This is the relative spacing between characters. You can specify character pitch as NONE, NARROW, MEDIUM or WIDE. The following shows examples of each
character pitch setting.
NONE
NARROW
MEDIUM
WIDE
BLOCK LENGTH
Select ”FIX” if you want so specify a fixed block length in the range of 0.0 cm to 99.9 cm. Specify ”AUTO” for this option if you want the label printer to automatically
adjust the length of the block.