


G- and K-Series User’s Guide
8-10
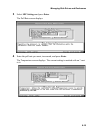
3
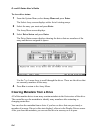
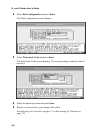
Select Blink Drive LED and press Enter.
The Select Drive screen displays.
4
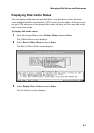
Select the drive you want and press Enter.
5
Press Esc to stop blinking the LED.
Taking Down a Drive
Caution:
This function is only for testing arrays and should not be used in
normal operation.
The Down Drive function sets the status of a drive in a fault-tolerant array to down.
This forces the controller to remove it from the array and marks the array as critical.
At this point, you will be unable to down any additional drives in the array.
To make the drive display again, you must use Rescan. See
Rescanning All Channels
on page 7-23. After you rescan, you must clear the metadata from the drive before
you can use it in an array or as a spare. See Clearing Metadata from a Drive on
page 8-4.
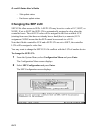
To take down a drive:
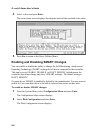
1
From the System Menu, select Utilities Menu and press Enter.
The Utilities Menu screen displays.
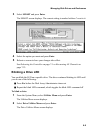
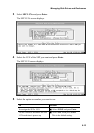
2
Select Drive Utilities Menu and press Enter.
The Drive Utilities Menu screen displays.
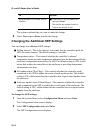
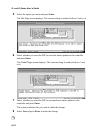
3
Select Down Drive and press Enter.
The Select Drive screen displays showing drives that are array members.
4
Select the drive you want and press Enter.
The system confirms that you want to make the change.
5
Select Yes and press Enter to make the change.
!