


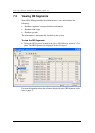

Managing AVMs and VNEs
Cisco Systems, Inc. Page 105
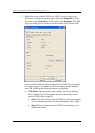
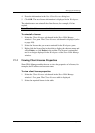
4. Right-click to display the shortcut menu and select one of the following:
• Actions | Start or in the toolbar click .
• Actions | Stop or in the toolbar click .
• Actions | Maintenance or in the toolbar click .
5. The state of the VNE changes based on your selection:
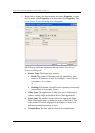
• If the VNE is started a confirmation message is displayed. Click OK.
An Up status will eventually be displayed in the VNEs Properties
table in the Workspace. In the interim, you may see a Starting Up
status, when, for example, the Server is overloaded, or the VNE is
still being loaded.
• If the VNE is stopped a confirmation message is displayed. Click
OK. A Down status will eventually be displayed in the VNEs
Properties table in the Workspace. In the interim, you may see a
Shutting Down status while various processes are closing down.
• If the VNE is moved to maintenance mode a confirmation message is
displayed. Click OK. A Maintenance status is displayed in the VNEs
Properties table in the Workspace.
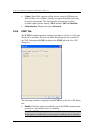
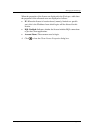
6.12 Moving Multiple and Single VNEs
Sheer DNA Manage enables the administrator to move single and/or multiple
VNEs between AVMs. The VNEs that are moved are unloaded. The status of
the VNEs is maintained after they are reloaded.
Note: Use standard Microsoft Windows mouse and keyboard techniques for
multiple selections in the appropriate Properties table displayed in the
Workspace.
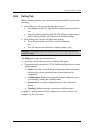
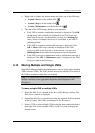
To move a single VNE or multiple VNEs
1. Select the DNA Servers branch in the Sheer DNA Manage window. The
DNA Servers branch is displayed.
2. Expand the DNA Servers branch and select the required AVM sub-branch
in the Tree pane. The VNEs are displayed in the Workspace.
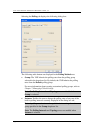
3. Select a VNE or select multiple VNEs using the mouse and/or keyboard,
then right-click on the required VNE(s) in the Tree pane to display the
shortcut menu.