


Chapter 2
Configuration
4
PrintServer for USB with 4-Port Switch
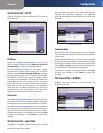
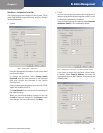
Domain Name Enter the name of the domain that you
want to associate with the PrintServer. If you are unsure of
the Domain Name, you can find it out by looking on any
computer already on the network. In Windows 98, right-
click Network Neighborhood and select Properties.
Under the Identification tab, you will see a list of that
computer’s name, and the Domain to which it is connected.
For Windows Me and 2000, right-click My Network Places.
In Windows Me, choose Properties from the menu that
appears. In Windows 2000 or XP, choose Properties
from the menu that appears. Then, right-click Local Area
Connection and choose Properties. The Domain name
will appear. If you want the PrintServer to be connected
to that same Domain, enter that Domain name here. If
no Domain name exists there, you will use the Workgroup
name from that window.
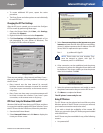
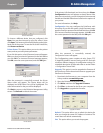
Options
Response This allows you to specify the amount of time
(measured in seconds) that the PrintServer will wait for a
response from the network before “timing out.”
Abort Print Job if Error Select Yes if you want to
terminate a print job if an error of any kind occurs. If you
select No, print jobs that have errors will be sent to the
printer, but might not print properly.
Change these settings as described here and click Save
to apply your changes or click Cancel to cancel your
changes.
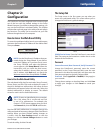
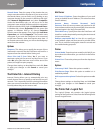
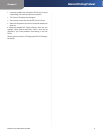
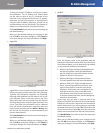
The Printer Tab > Internet Printing
Internet Printing allows you to automatically print any
e-mails that are sent to a specific e-mail account on your
network. This is especially useful for printing information
when you are not connected to the network. You can print
from anywhere that you can access e-mail.
Printer > Internet Printing
Mail Server
Mail Server IP Address Enter the address of your mail
server in the Mail Server IP Address. (This value must be a
fixed IP address.)
Account Name, Account Password, Verify
Password Enter the account name and password in the
Account Name and Account Password fields, then enter the
password again in the Verify Password field.
Check Mail every Specify how often the PrintServer will
check for e-mail to be printed by entering the time interval
in hours and minutes.
Redirect unprintable Mail to Use this to specify an
e-mail address where mail that cannot be printed will be
sent. This is useful for both graphic-intensive e-mails and
for troubleshooting purposes.
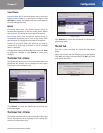
Printer
Printer Model Enter the printer model in this field. If you
do not know this information, you can find it in the Device
Manager.
Printer Port Choose the printer port from the drop down
menu.
Options
Print every E-Mail Select this option to enable it.
Print Banner Page Select this option to enable it. It is
enabled by default.
Mail response when printed Select this option to enable
it.
Change these settings as described here and click Save
to apply your changes or click Cancel to cancel your
changes.
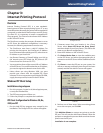
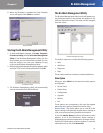
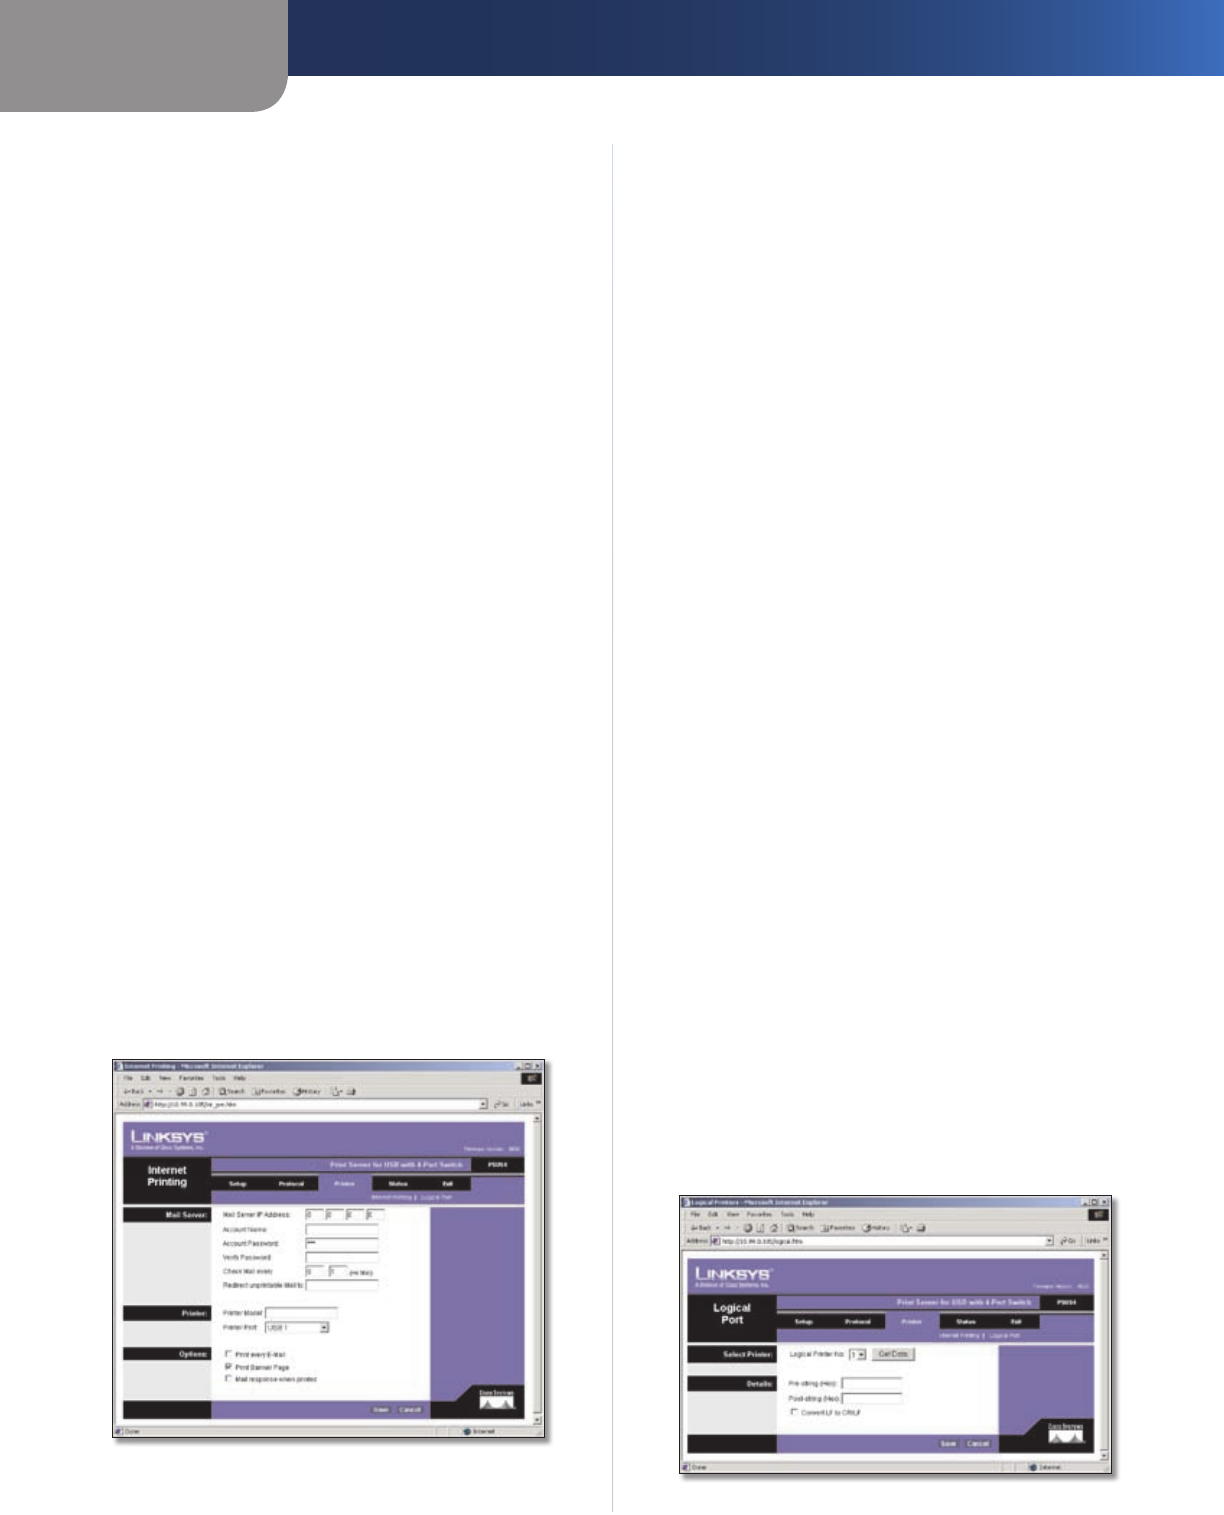
The Printer Tab > Logical Port
The Logical Printers tab contains the logical printer
settings of the PrintServer. Select from the following fields
for each Logical Printer.
Printer > Logical Port