— 34 —
7. DIP SWITCH (SW1) SETTING
7.1 DIP Switch Position
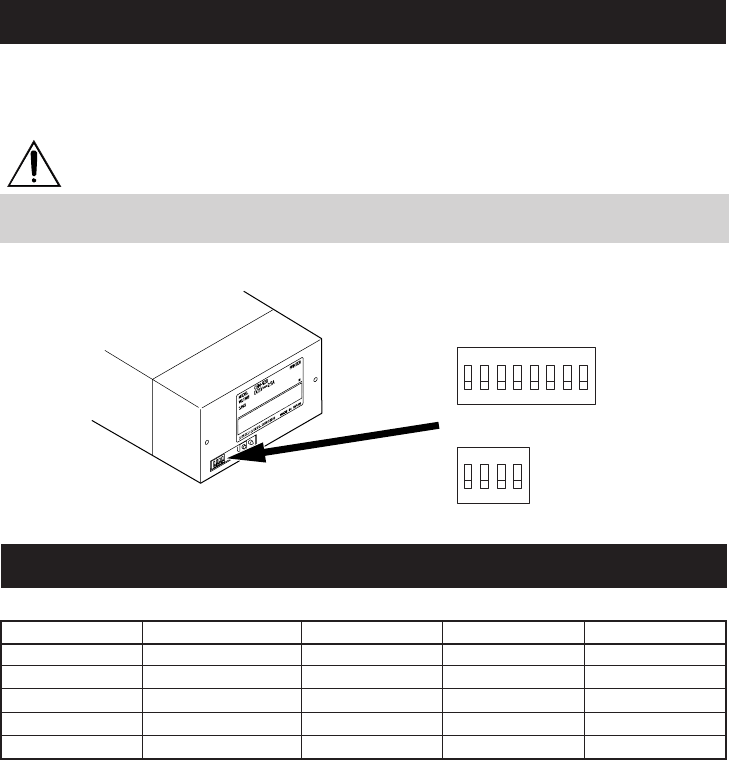
DIP switch (SW1) is located at the back of the printer as shown in the figure below.
The polarity and part of the function of the switch differs depending on the interface.
For memory switch setting, refer to “4.9 Setting Memory Switches”.
NOTE
Before setting, turn the printer power off.
Do not use edged object, such as a pen, to change the switch.
1
ON
2 3 4 5 6 7 8
1
ON
2 3 4
Serial
Parallel
7.2 Parallel Interface Type
*: Difference may occur in accordance with the emulation set by the memory switch.
After setting DIP switch No. 4 to ON, turning the printer power on with the SEL switch
pressed and held causes the printer enter the Manual memory switch setting mode.
After manual setting mode, be sure to set this switch to OFF.
Switch No. Function OFF ON Factory Setting
1 Character direction Normal Inverted OFF
2 (920)* CR command Ignore CR CR + LF OFF
2 (3110)* CR command CR LF OFF
3 RESET in Disable Enable ON
4 Memory switch Disable Setting Enable Setting OFF


