


. . . . . . . . . . . . . . . . . . . . . . . . . . . . . . . . . . . . .
Removal and Replacement Procedures 5-29
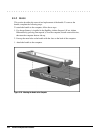
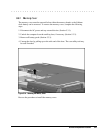
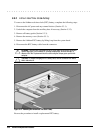
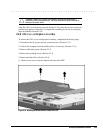
After removing the upper memory board, the lower memory board may be removed by
completing the following steps:
1. Release the latch at each end of the lower memory board. This releases the memory
board and allows it to rotate upwards for removal.
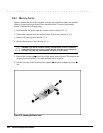
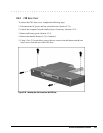
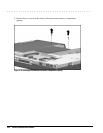
2. Rotate the board upwards about 25 degrees, pull the board out 2-mm (1/8-inch), and
rotate the board up about 40 degrees.
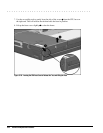
3. Pull the memory board out of the slot.
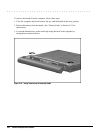
Memory boards must be installed in matched pairs. You must install the lower memory
board before the upper one.
NOTE:
Align the star on the memory board with the star on the system board to ensure
proper installation.
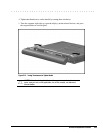
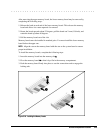
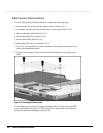
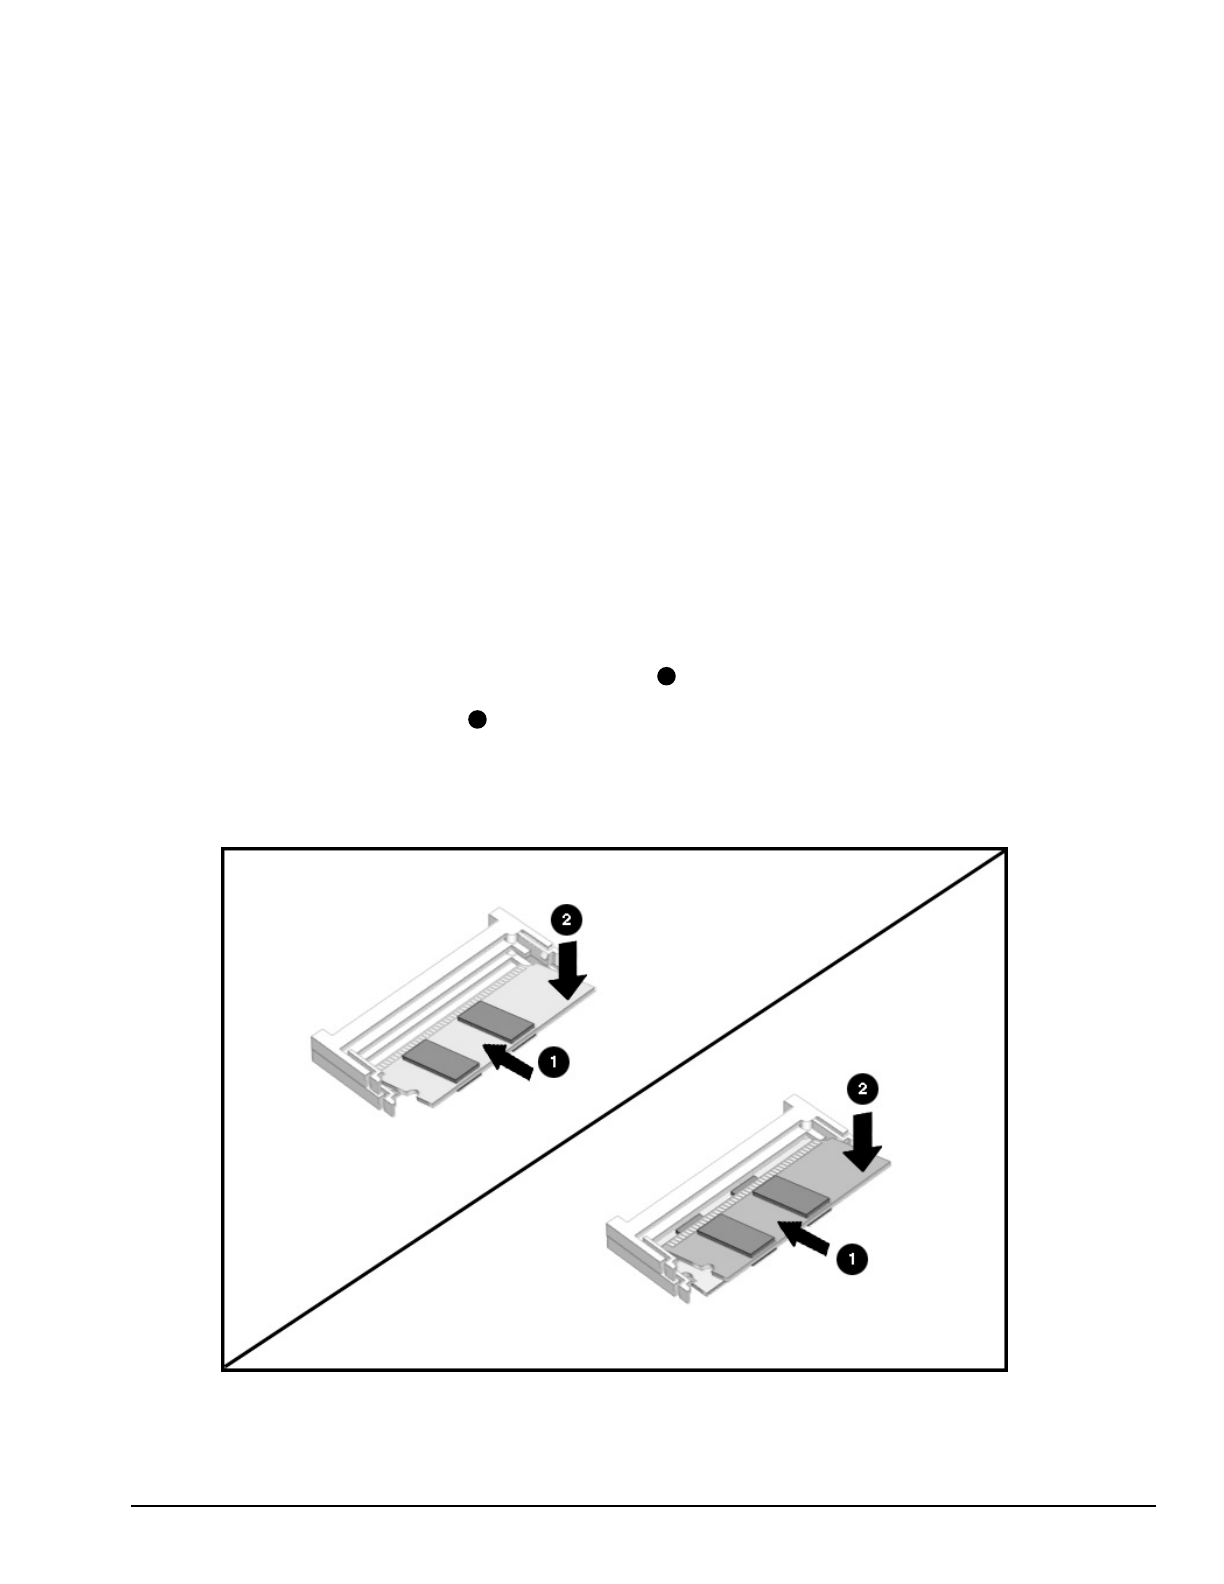
To install the memory boards, complete the following steps:
1. Insert the memory board into the memory slot
1
.
2. Pivot the memory board
2
so that it lays flat in the memory compartment.
3. Push the memory board firmly into place to seat the connections and to engage the
locking tabs.
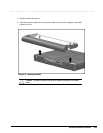
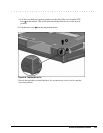
Figure 5-26.
Installing the Memory Boards