


Removal and Replacement Procedures
Maintenance and Service Guide 5–7
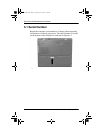
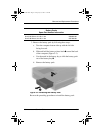
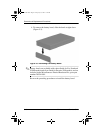
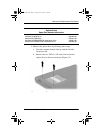
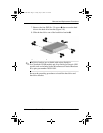
5. Remove the optical drive by following these steps:
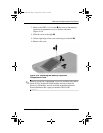
a. Turn the computer bottom side up with the left side
facing forward.
b. Remove the two TM2.5 × 5.0 screws that secure the
optical drive to the base enclosure (Figure 5-4).
Figure 5-4. Removing the Optical Drive Screws
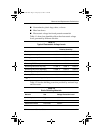
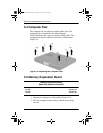
Optical Drives
Spare Part Number Information
24X Max CD-ROM drive
8X Max DVD-ROM drive
24X Max DVD-ROM/CD-RW combination drive
8X Max DVD-ROM/CD-RW combination drive
285526-001
285527-001
304691-001
285529-001
279372-001.book Page 7 Friday, July 19, 2002 11:50 AM