


6. Using the (Wireless) IP Camera through the webbrowser
You can access and manage the Wireless Internet Camera through:
1) a web browser, and 2) the enclosed software IPView SE.
This chapter describes the Web Configuration Utility, and provides the instructions on
using the camera with a web browser.
6.1. Web Configuration Utility
The (Wireless) Internet Camera can be configured with the Setup Wizard, or through
its built-in Web-based Configuration. ( Extensive knowledge of LAN will be helpful in
setting up the Wireless Internet Camera.) From the web browser, enter the default IP
address to access the Welcome screen of the (Wireless) Internet Camera.
To configure your (Wireless) Internet Camera, type http://192.168.0.20 in the address
box. The number is the default IP address of your (Wireless) Internet Camera. Then,
press [Enter].
NOTE:
The computer’s IP address must correspond with the camera’s IP address in
the same segment for the two devices to communicate.
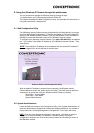
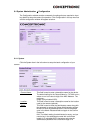
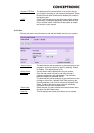
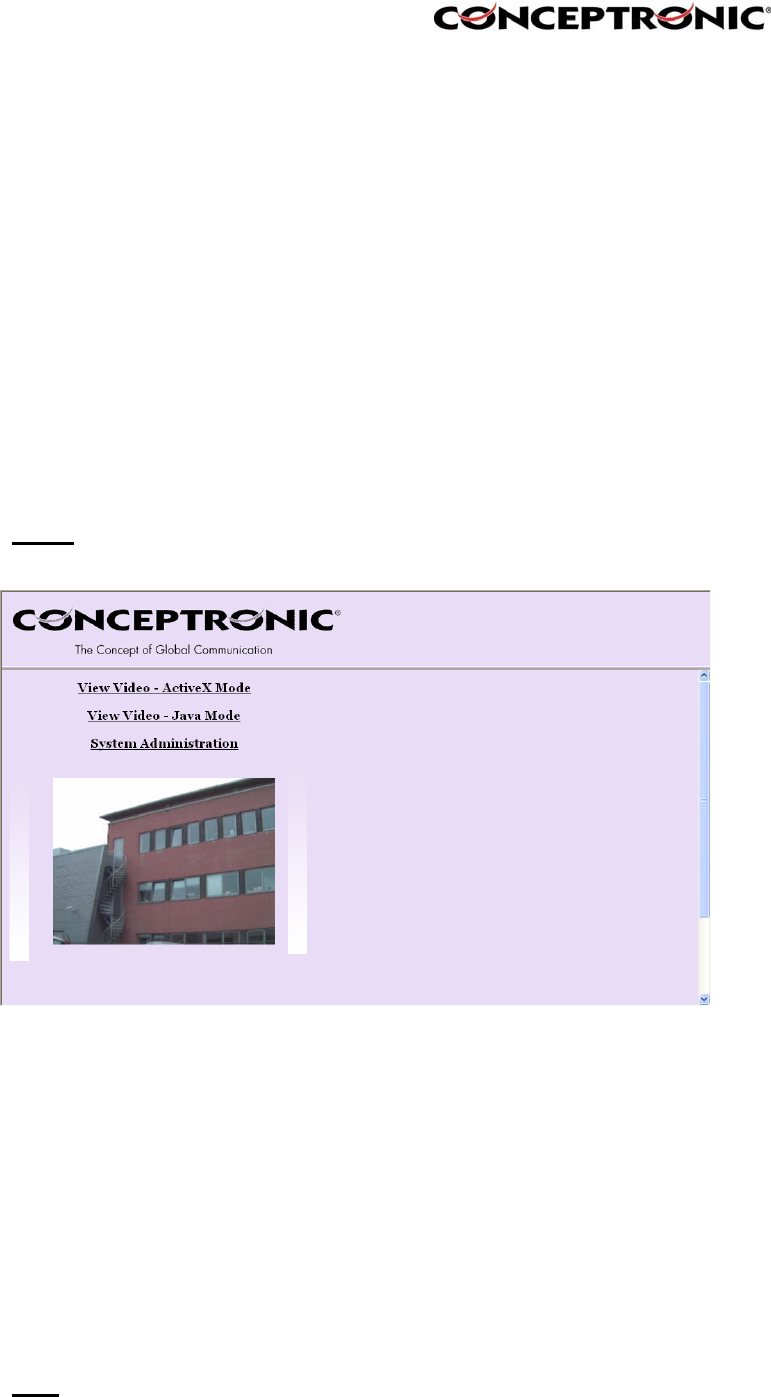
Welcome Screen of the Configuration Utility
After the default IP address is entered from the browser, the Wireless Internet
Camera Welcome screen will appear with a still image. There will be three options to
choose from to set-up and view your Wireless Internet Camera, including:
View Video – ActiveX Mode
View Video – Java Mode
System Administration
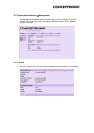
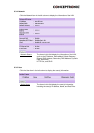
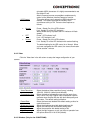
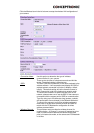
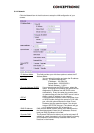
6.2. System Administration
Under the Welcome screen of the Configuration Utility, click System Administration to
enter the administration window that contains the settings required for the camera in
the top menu bar, including Management, Configuration, Tools, Help, and Home.
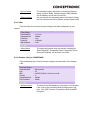
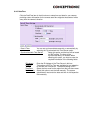
HINT
: Once you have changed the settings in each option, click Save to store the
settings, or Cancel to abandon, or Refresh to reload the status. During the
configuration, whenever you click Home in the top menu bar will make you return to
the Welcome window.