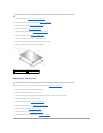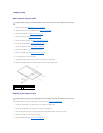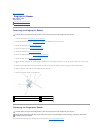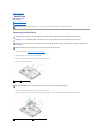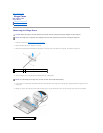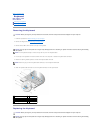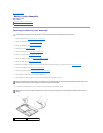
6. Disconnect the hard drive cable connector from the motherboard.
7. Pull the mylar tab to release the hard drive.
8. Lift the hard drive and the hard drive cable out of the computer. You may find it easier to lift the hard drive starting from the side located opposite from
the hard drive's connection to the hard drive cable.
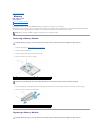
Replacing the Hard Drive
This procedure assumes that you have completed the removal procedure Removing the Hard Drive.
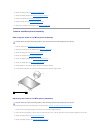
1. Replace the two screws that secure the hard drive to its metal base.
2. Make sure the hard drive is attached to the hard drive cable.
3. Reseat the hard drive and its metal base into the hard drive compartment.
4. Connect the hard drive cable connector to the motherboard.
5. Replace the screw from the metal tab located near the hard drive cable.
6. Replace the two screws that secure the hard drive to the base of the computer.
7. Replace the hard drive cover aligning the notches.
8. Tighten the five screws that secure the hard-drive compartment cover.
9. Install the operating system for your computer, as needed. For information on reinstalling the operating system, see the Setup and Quick Reference Guide
for your computer on support.dell.com.
10. Install the drivers and utilities for your computer, as needed. For information on reinstalling drivers and utilities, see the Setup and Quick Reference Guide
for your computer on support.dell.com.
Back to Contents Page
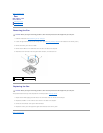
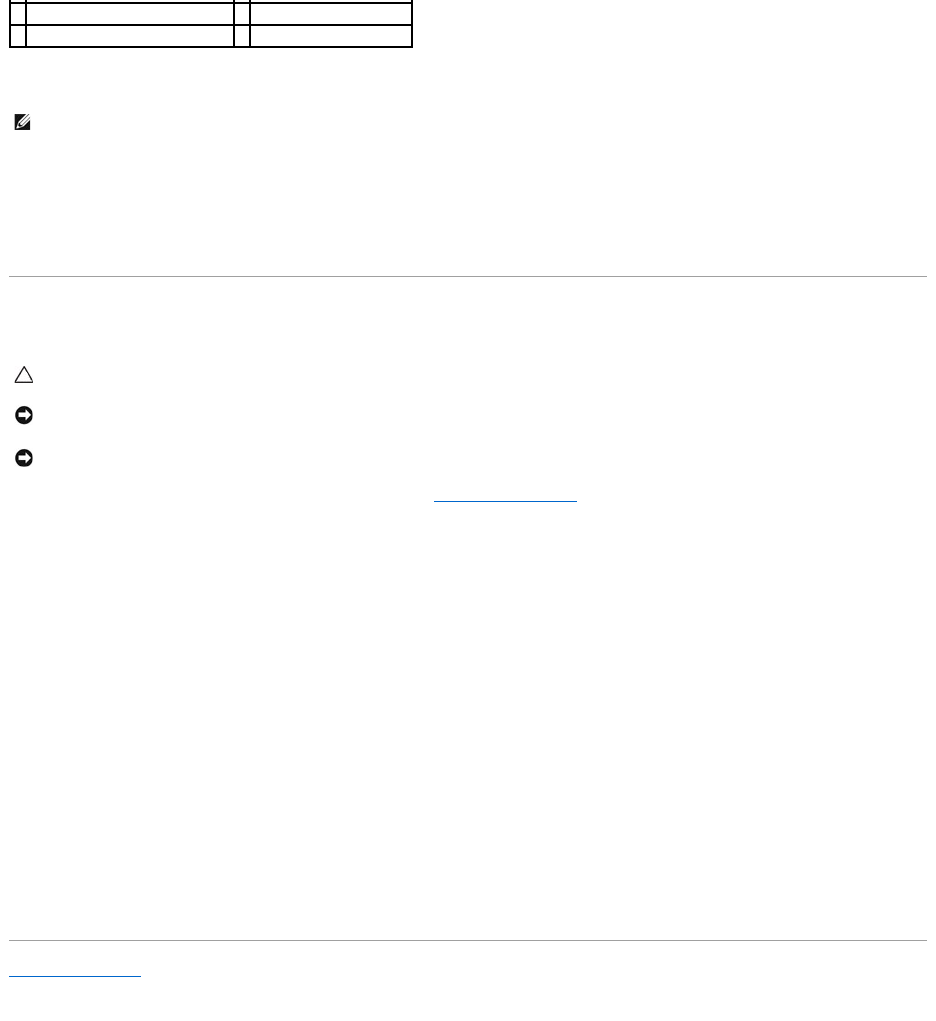
3
screws attached to metal base (2)
4
hard drive cable
5
hard drive
NOTE: The hard drive cable connects to the hard drive on one end and to the motherboard on the other. The connection to the hard drive may remain
intact when lifting the hard drive from the computer. Be sure to disconnect the hard drive cable connector from the motherboard before removing the
hard drive.
CAUTION: Before you begin any of the procedures in this section, follow the safety instructions that shipped with your computer.
NOTICE: Hard drives are extremely fragile. Exercise care when handling the hard drive.
NOTICE: Use firm and even pressure to slide the hard drive into place. Excessive force may result in damage to the connector.


