


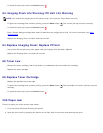

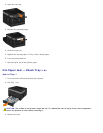
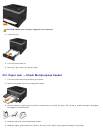
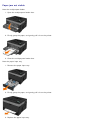
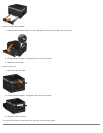
2. Open the rear exit.
3. Remove the jammed paper.
4. Close the rear exit.
5. Replace the narrow paper in Tray 1 with a wider paper.
6. Turn the printer back on.
7. Send the print job to the printer again.
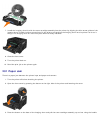
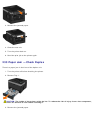
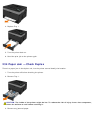
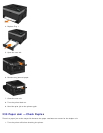
24x Paper Jam — Check Tray <x>
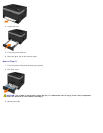
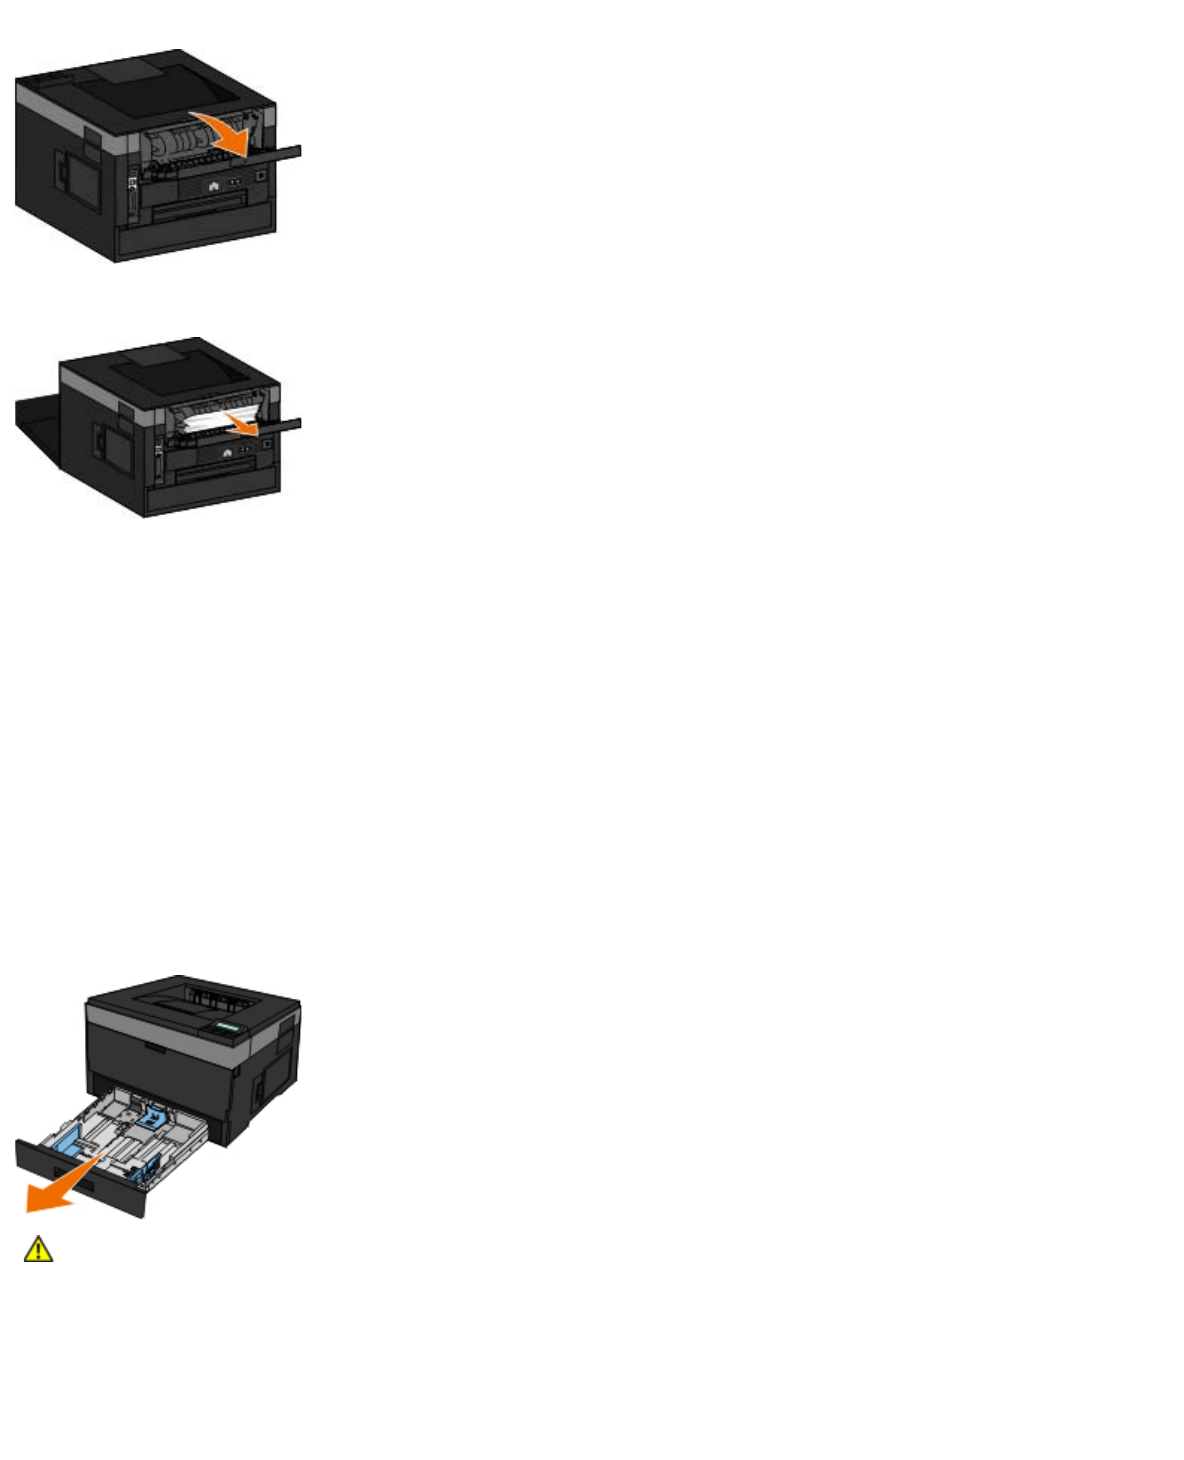
Jam in Tray 1
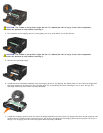
1. Turn the printer off before checking the printer.
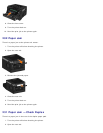
2. Pull Tray 1 out.
3. Remove the jam.
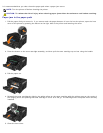
CAUTION: The inside of the printer might be hot. To reduce the risk of injury from a hot component,
allow the surface to cool before touching it.