


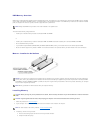

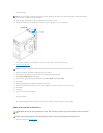
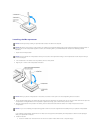

6. Connect the power and data cables to the back of the replacement drive.
7. Replace the computer cover.
8. Connect your computer and devices to electrical outlets, and turn them on.
9. See the documentation that came with the drive for instructions on installing any software required for drive operation.
Adding or Replacing a Second Hard Drive
1. Follow the procedures in "Before You Begin."
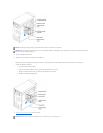
2. Remove the existing hard drive.
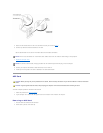
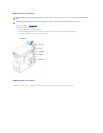
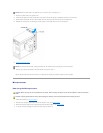
3. Remove the additional hard drive bracket from the computer:
a. Remove the bracket-securing screws for the additional drive.
b. Remove the bracket for the additional drive from the computer.
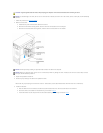
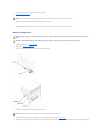
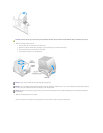
4. If you are replacing the additional hard drive, remove the drive from the bracket:
a. Remove the hard drive-securing screws.
b. Remove the hard drive from the bracket.
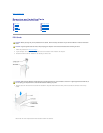
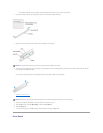
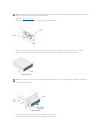
NOTICE: Match the colored strip on the cable with pin 1 on the drive (pin 1 is marked as "1").
NOTICE: To connect a network cable, first plug the cable into the network wall jack and then plug it into the computer.
CAUTION: Before you begin any of the procedures in this section, follow the safety instructions in your Owner's Manual or Product Information
Guide.
CAUTION: To guard against electrical shock, always unplug your computer from the electrical outlet before removing the cover.
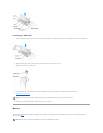
NOTICE: To avoid damage to the drive, do not set it on a hard surface. Instead, set the drive on a soft surface, such as a foam pad, that will sufficiently
cushion it.