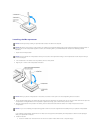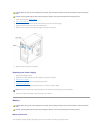
1. Follow the procedures in "Before You Begin."
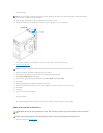
2. Remove the fan assembly.
3. Disconnect the AC power cable from the AC power connector on the back of the power supply.
4. Unplug the DC power cables from the drives and system board.
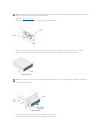
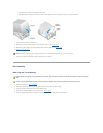
5. Remove the four screws that secure the power supply to the back of the computer.
6. Remove the power supply from the computer.
Replacing the Power Supply
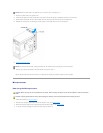
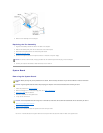
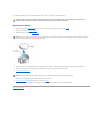
1. Slide the power supply into place.
2. Replace the four screws that secure the power supply to the back of the computer.
3. Reinstall the fan assembly.
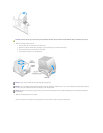
4. Reconnect the DC power cables to the drives and system board.
5. Replace the computer cover.
6. Connect the AC power cable to the AC power connector on the back of the power supply.
7. Connect your computer and devices to electrical outlets, and turn them on.
Battery
Battery Overview
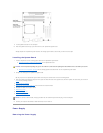
A coin-cell battery maintains computer configuration, date, and time information. The battery can last several years.
CAUTION: Before you begin any of the procedures in this section, follow the safety instructions in your Owner's Manual or Product Information
Guide.
CAUTION: To guard against electrical shock, always unplug your computer from the electrical outlet before removing the cover.
NOTICE: To connect a network cable, first plug the cable into the network wall jack and then plug it into the computer.
CAUTION: Before you begin any of the procedures in this section, follow the safety instructions in your Owner's Manual or Product Information
Guide.
CAUTION: To guard against electrical shock, always unplug your computer from the electrical outlet before removing the cover.


