


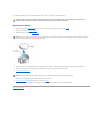
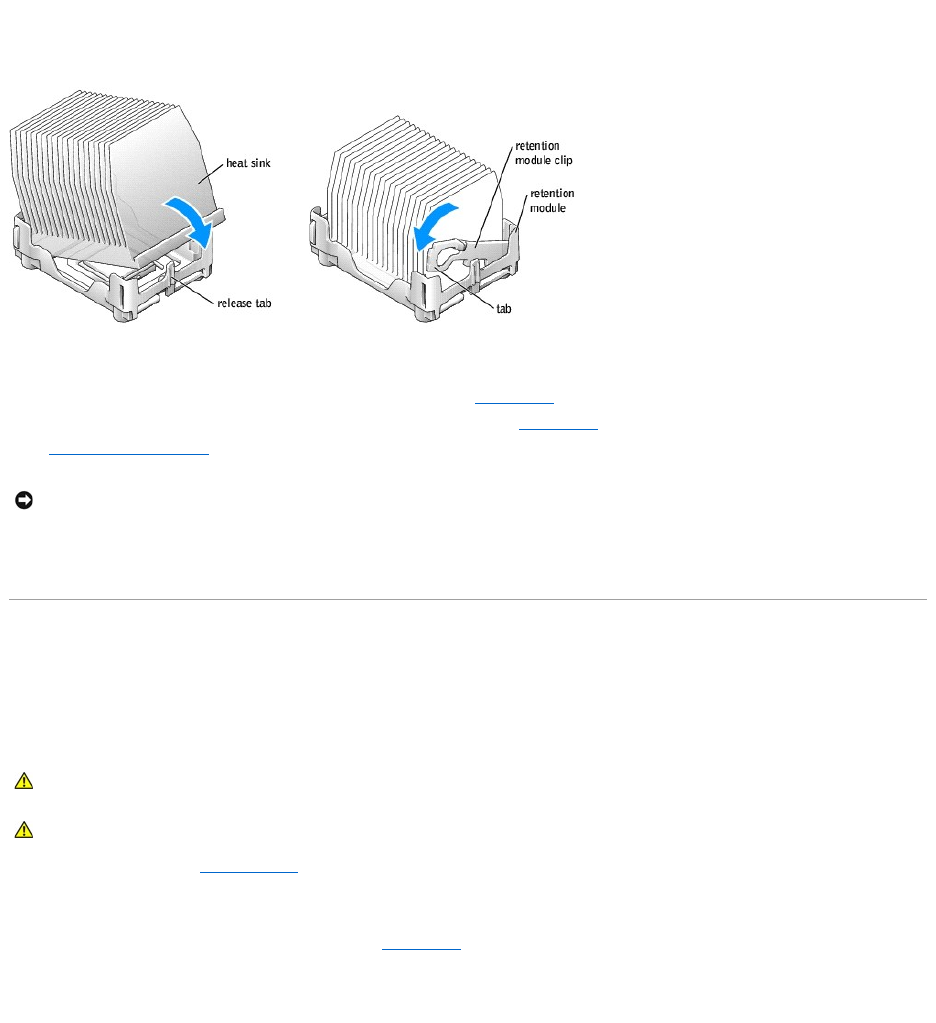
b. Lower the heat sink until it fits securely in the module.
c. When the heat sink is secured, pivot the retention module clip down until the tab snaps into place to secure the heat sink.
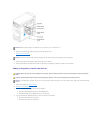
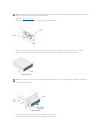
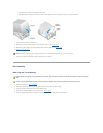
7. Lower the airflow shroud over the heat sink.
8. Reconnect the cooling fan power cable to the fan connector (J1F1) on the system board.
9. Reconnect the power cable to the microprocessor power connector (J5B1) on the system board.
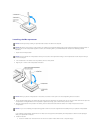
10. Replace the computer cover.
11. Connect your computer and devices to electrical outlets, and turn them on.
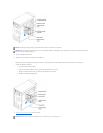
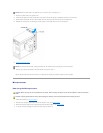
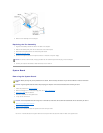
Fan Assembly
Removing the Fan Assembly
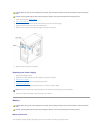
1. Follow the procedures in "Before You Begin."
2. Disconnect the AC power cable from the AC power connector on the back of the power supply.
3. Unplug the DC power cables from the drives and system board.
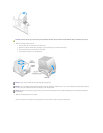
4. Disconnect the fan power cable from its connector on the system board.
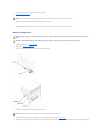
5. Pull the fan release lever away from the back of the computer and slide the fan toward the release lever.
NOTICE: To connect a network cable, first plug the cable into the network wall jack and then plug it into the computer.
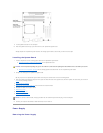
CAUTION: Before you begin any of the procedures in this section, follow the safety instructions in your Owner's Manual or Product Information
Guide.
CAUTION: To guard against electrical shock, always unplug your computer from the electrical outlet before removing the cover.