


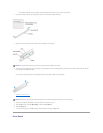

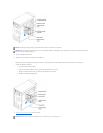
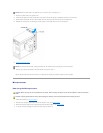

2. Release and remove the front panel.
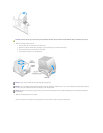
3. Pull the two front-panel tabs towards you, and then push out the front-panel insert.
4. Ensure that the jumper setting on the new drive is set for "cable select" (see the documentation that came with the drive for information).
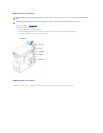
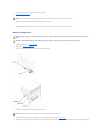
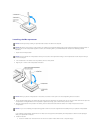
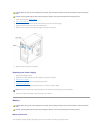
5. Remove two extra alignment screws, shown in the following figure, from the front of the computer and insert them into the drive.
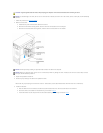
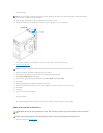
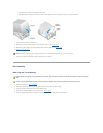
6. Gently slide the drive into place.
7. Once the drive is in place, apply pressure to ensure that the drive is fully seated.
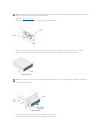
8. Use the securing screw that came with the drive to attach the drive to the computer.
NOTE: Drives sold by Dell come with their own operating software and documentation. After you install a drive, see the documentation that came with
the drive for instructions on installing and using the drive software.
NOTE: Some computers come with only two extra alignment screws; others come with four. You only need two alignment screws for this procedure.