Setting Up for Local Printing 33
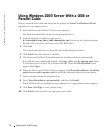
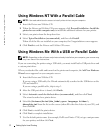
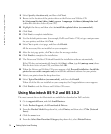
8 Click Yes (recommended), and then click Finish to print a test page.
9 After the test page prints, click Yes to close the window.
10 Click Finish to complete the installation and close the wizard.
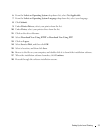
11 The Drivers and Utilities CD should launch the installation software automatically.
If the CD does not automatically launch, click Start→Run, type D:\setup.exe (where
D is the drive letter of your CD), and then click OK.
12 When the Drivers and Utilities CD screen appears, click Personal Installation - Install the
printer for use on this computer only to install the additional software for your printer.
13 Select your printer from the drop-down box.
14 Select Typical Installation (recommended), and then click Install.
When all of the files are installed on your computer, the Congratulations screen appears.
15 Click Finish to exit the Drivers and Utilities CD screen.
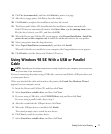
Using Windows 98 SE With a USB or Parallel
Cable
NOTE: Depending on the software and printers already installed on your computer, your screens may
vary from those in the instructions.
If you are connecting the printer using a USB cable, you must install both a USB port driver and
a custom print driver.
When you attached the cable and turned on the printer, the Found New Hardware Wizard
appeared on your computer screen.
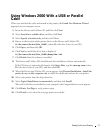
1 Insert the Drivers and Utilities CD, and then click Next.
2 Select Search for a suitable driver, and then click Next.
3 If you are using a USB cable, select CD-ROM drive only, and then click Next.
If you are using a parallel cable, skip to step 8.
4 After the wizard finds the USB port driver, click Next.
5 When the USB port driver is installed, click Finish.
The wizard prompts you to search for new drivers.
6 Click Next to search for a printer driver.
7 Select Search for a suitable driver, and then click Next.


