Dell PowerVault MD32xxi Configuration Guide for VMware ESX4.1 Server Software
Page 33
Step A3: Assign Network Adapters
Just like in the previous example, the next step in the process is to assign the network adapters (NICs) that
will be attached to the iSCSI network and used for iSCSI traffic. These will be attached to the vSwitch2 that
we created earlier. This can be done two ways, in the vCenter GUI or by CLI.
To list all of the adapters in the system run the following command:
esxcfg-nics –l
This will list all of the adapters in the system. Assign the NICs that are physically connected to the SAN
infrastructure and to the vSwitch. The following command assumes that we are assigning vmnic2 and
vmnic3 to the vSwitch.
esxcfg-vswitch –L vmnic2 vSwitch2
esxcfg-vswitch –L vmnic3 vSwitch2
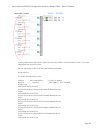
Once again to verify the configuration type the following command to list the vSwitch information:
esxcfg-vswitch –l
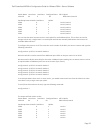
Your output will look similar to the following. Note the new vmnics that were assigned to the vSwitch
under uplinks.
Switch Name Num Ports Used Ports Configured Ports MTU Uplinks
vSwitch2 64 9 64 9000 vmmnic3,vmnic2
PortGroup Name VLAN ID Used Ports Uplinks
iSCSI6 0 1 vmnic2,vmnic3
iSCSI5 0 1 vmnic2,vmnic3
iSCSI4 0 1 vmnic2,vmnic3
iSCSI3 0 1 vmnic2,vmnic3
iSCSI2 0 1 vmnic2,vmnic3
iSCSI1 0 1 vmnic2,vmnic3
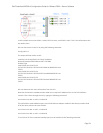
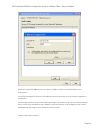
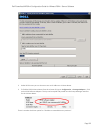
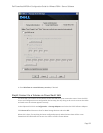
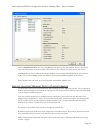
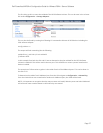
This can also be configured and verified in the vCenter GUI. Remember that the polling of vCenter is not
instant so a refresh might need to occur to see the latest changes. To configure this same process from
the GUI, first navigate to the Networking section on the ESX host you are configuring. Configuration ->
Networking.
From here, click Properties on the vSwitch2.


