14
Applying Power
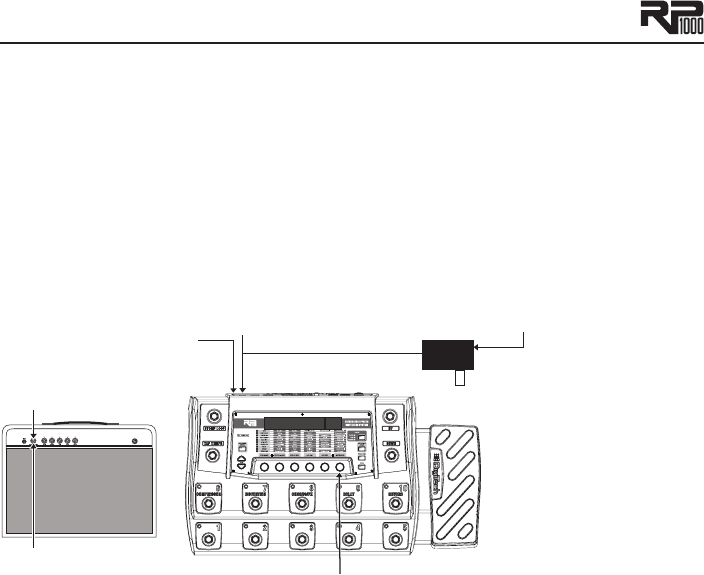
Before applying power to anything, set your amp(s) to a clean tone and set the tone controls to
a flat EQ response (on most amps, this should be set to 5 on EQ’s to obtain the amp’s natural
voicing.). Then follow the steps listed below.
Turn your amp volume all the way down.1.
Connect the PS0913B power supply the RP1000. 2.
Plug the PS0913B power supply into an AC outlet. 3.
Turn on the RP1000’s power switch and adjust the RP1000’s Master Level to 0. 4.
Turn your amp on and adjust the volume to a normal playing level. 5.
Gradually increase the RP1000’s 6. Master Level knob to achieve the desired volume (a set-
ting of 30 will provide approximately a unity gain signal in your system).
5. Turn amp volume up
1. Turn amp volume down
2. Connect PS0913B to power jack
3. Connect PS0913B
to AC outlet and
turn the RP1000’s
Master Level to “0”
6. Turn the RP1000’s Master Level
to the desired listening volume
4. Turn on the RP1000’s
power switch.
Section Two - Editing Functions
Preset Mode and Pedalboard Mode
There are two different ways to use the footswitches with the presets: Preset Mode and Pedal-
board Mode. Push the Pedalboard button (just to the right of the knobs below the Display) to
toggle between these two modes.
Preset Mode
In Preset mode, each of the 10 numbered footswitches loads a preset, and you can’t turn
individual models on or off with the footswitches. The Up/Down footswitches select banks
of 10 presets.
Pedalboard Mode
In Pedalboard mode, footswitches 1-5 select presets, and footswitches 6-10 act like pedals
on a pedalboard. That means you can turn the distortion, chorus, etc. on and off within each
preset. The first time you power up the RP1000 when you take it out of the box (or after
doing a factory restore), it’s in Pedalboard mode.
The RP1000 remembers which mode you’re in when you turn it off, and keeps it in that mode
when you turn it back on.


