CONFIGURATION
Through the Web Browser you can configure Switch settings such as VLAN, Trunking, QoS… etc.
With the attached Web Management Utility, you can easily discover all Web Management Switches, assign the IP Address, change the password, and upgrade
new firmware.
Installing the Web Management Utility
"If your utility is old version, please remove it and install v.1.01 or higher"
The following provides instructions guiding you through the installation of the Web Management utility.
1. Insert the Utility CD in the CD-ROM Drive.
2. From the Start menu on the Windows desktop, choose Run.
3. In the Run dialog box, type D:\Web Management Utility\setup.exe (D:\ depends where your CD-Rom drive is located) and click OK.
4. Follow the on-screen instructions to install the utility.
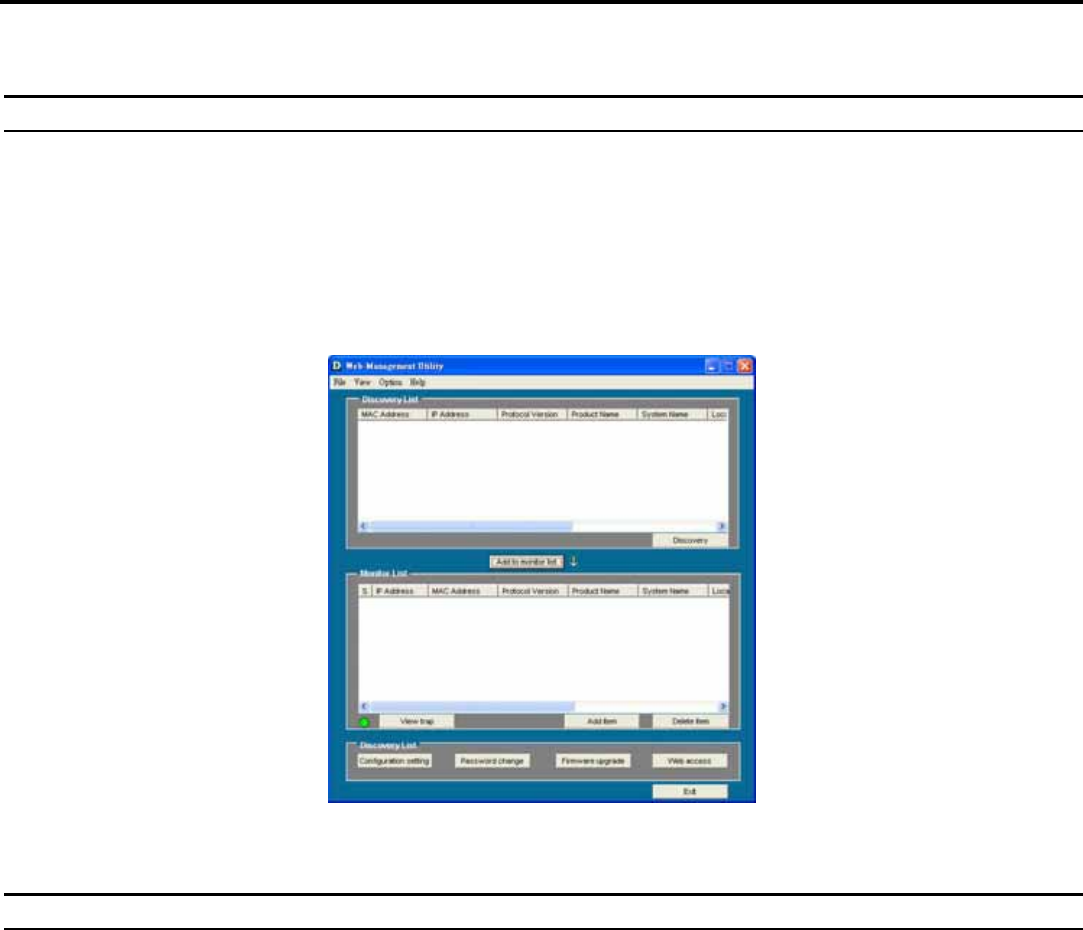
5. Upon completion, go to Program Files -> D-Link_web_management_utility and execute the Web Management utility. (Figure 6.)
Figure 6. Web Management Utility
The Web Management Utility is divided into four parts: Discovery List, Monitor List, Device Setting, and Toolbar function. For detailed instruction, follow the
section below.
Discovery List
This is the list where you can discover all the Web management devices in the entire network.
By pressing the “Discovery” button, you can list all the Web Management devices in the discovery list.
Double click or press the “Add to monitor list” button to select a device from the Discovery List to the Monitor List.
System word definitions in the Discovery List:
z MAC Address: Shows the device MAC Address.
z IP Address: Shows the current IP address of the device.
z Protocol version: Shows the version of the Utility protocol.
z Product Name: Shows the device product name.
z System Name: Shows the appointed device system name.
z Location: Shows where the device is located.


