63
3. Have Disk:
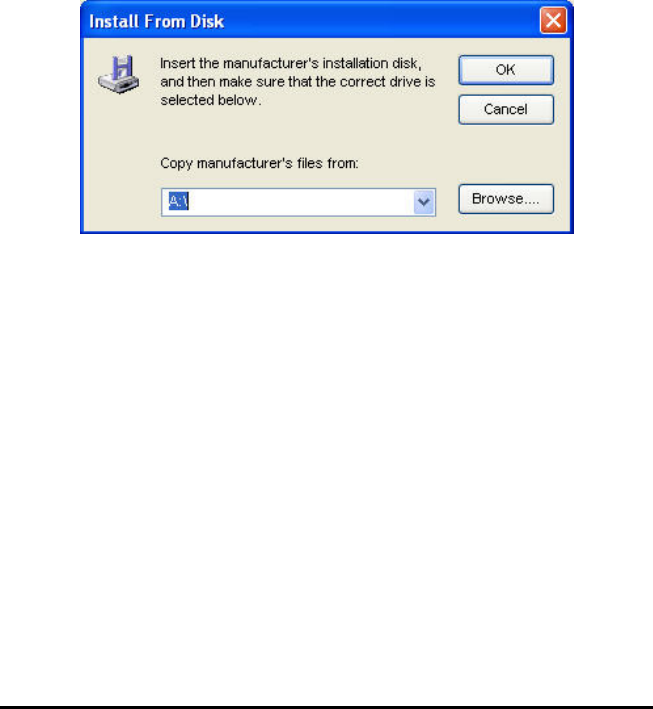
Click Have Disk button to bring up the following window. Insert the manufacture’s
installation CD-ROM to install the printer driver. After the correct driver is selected,
click OK button to continue.
After done the selection of printer driver, the wizard will ask you to confirm your
selection again in the following window. Beside, you are allowed to edit the name of
the printer in the field “Network Printer Name” and enable this printer as the default
printer by checking the box “Use this printer as the default printer for
Windows-based programs”.
After you done the verification and configuration in the following window, click Next>
button to continue. Then the printer (e.g. HP Laser 2000 used in this manual) will be
auto-created in Windows’ Printers and Faxes window as the following illustration.


