1-1 Installation Connectivity Module
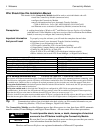
How to Install the Connectivity Module
on 7000 & 4000 Series and Series 300 ATSs
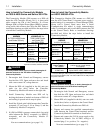
The Connectivity Module (CM) mounts on a DIN rail
under the ATS Controller (Group 5 & 1). A short serial
cable connects the CM to the Controller. If a Power
Manager (PM) or Digital Power Meter (DPM) is present,
a long serial cable connects the CM to the PM. Refer to
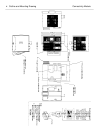
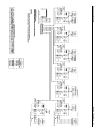
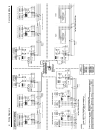
installation drawings provided and follow the steps below
to install the Connectivity Module.
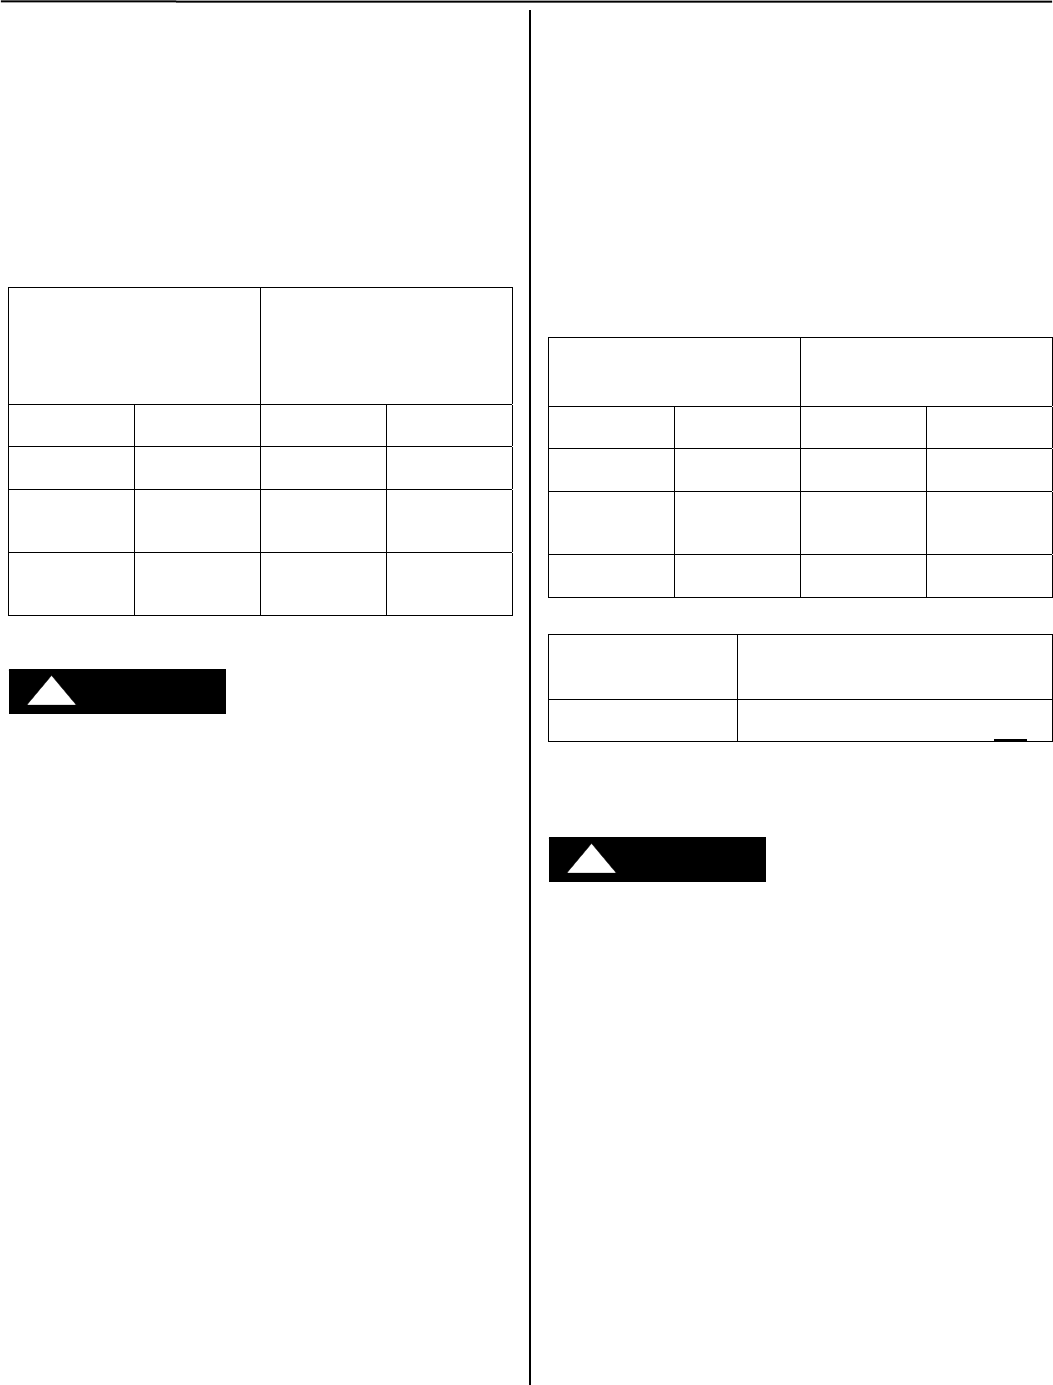
Connectivity Module Kit
K889950
for 7000 & 4000 Series
and Series 300 only
Connectivity Module Kit
K889950-001 for
7000 & 4000 Series
and Series 300
with PM or DPM
Connectivity
Module 5150
629800-004
Connectivity
Module 5150
629800-004
DIN Rail and
Hardware
754607
DIN Rail and
Hardware
754607
10-in. Serial
Cable for
Controller
629798-001
10-in. Serial
Cable for
Controller
629798-001
4-ft Serial
Cable for
PM or DPM *
629798-002
* A 9-foot serial cable (629798-004) is
required for G7ATB, G7ACTB, G7ADTB.
To avoid possible shock, burns, or death, deenergize all
electrical sources to the ATS before installing the
Connectivity Module.
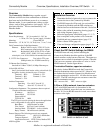
1. De-energize both Normal and Emergency sources
that feed the ATS. Open enclosure door and check
with a non-contact AC voltage detector.
2. Mount the DIN rail (supplied in the kit) onto two
studs (on the door) below the Controller.
Connectivity Module will mount on the right side.
3. Install Connectivity Module onto DIN rail by
hooking the bottom of module on bottom of DIN rail
and rocking it upward unit it snaps in place.
4. Install the 10-inch serial cable between the Controller
receptacle (J7 on Group 5, J4 on Group 1) and the
Connectivity Module J1 receptacle.
5. If a PM (or DPM) is present, connect the 4-foot serial
cable between the PM J5 receptacle (or DPM J2
receptacle) and the Connectivity Module J2
receptacle.*
Now test communications (go to page 1-2).
How to Install the Connectivity Module
on ASCO 940/962 ATSs
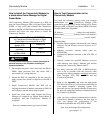
The Connectivity Module (CM) mounts on a DIN rail
near the ATS Control Panel. A separate power supply is
needed unless it is connected to a Power Manager (PM).
Group 6A/7A Control Panel must have a Serial
Communication Kit added. A single communication
cable (2 twisted pairs and overall shield connects the CM
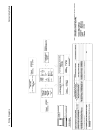
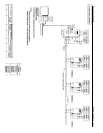
to the Control Panel). Refer to installation drawings
provided and follow the steps below to install the
Connectivity Module.
Connectivity Module Kit
K889953
for ASCO 940/962 only
Connectivity Module Kit
K889953-001
for ASCO 940/962 with PM
Connectivity
Module 5150
629800-004
Connectivity
Module 5150
629800-004
DIN Rail and
Hardware
754610
DIN Rail and
Hardware
754610
Serial Com.
Kit for Group
6A/7A CP *
467508
Serial Com.
Kit for Group
6A/7A CP *
467508
Serial Cable
for PM
629798-002
* Serial communication & transient protection boards.
Required
Power Supply **
not supplied
Communication Cable
(4 wires and an overall shield)
not supplied
24 Vdc, 80 mA ** use
16 AWG wire
Belden 9842, 9829, 89729, 82729 or
Alpha 6202C, 6222C, 58902 only
** If a Power Manager (PM) is present, a power supply is not needed for
the Connectivity Module (CM). The serial cable from the PM provides
the power to the CM.
To avoid possible shock, burns, or death, deenergize all
electrical sources to the ATS before installing the
Connectivity Module.
1. De-energize both Normal and Emergency sources
that feed the ATS. Open enclosure door and check
with a non-contact AC voltage detector.
2. Mount DIN rail (supplied in the kit) onto two studs
(on the door) below or adjacent to the Control Panel.
3. Install the Connectivity Module onto DIN rail.
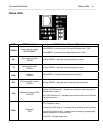
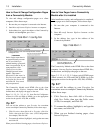
4. Prepare and connect the specified communication
cable between the Control Panel terminals and the
Connectivity Module J4 terminals as listed below:
5. Prepare and connect the 24 Vdc power supply to the
Connectivity Module. Use 16 AWG wiring to J5
terminal plug (1 is + positive, 2 is – negative).
Now test communications (go to page 1-2).
DANGER
!
DANGER
!


