3-1 Series 300 ATSs Connectivity Module
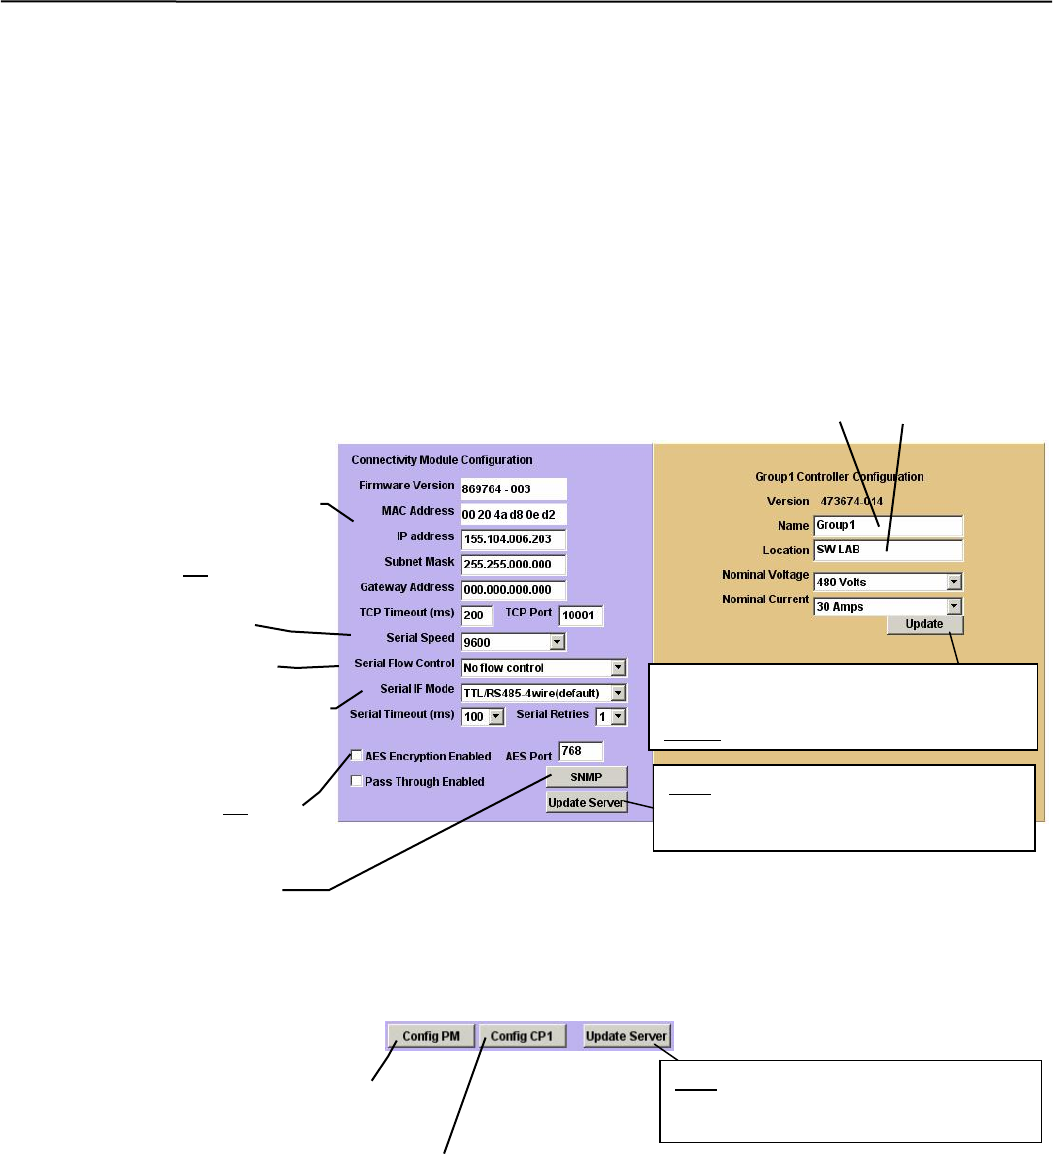
Device Configurator Screen for Series 300 ATSs
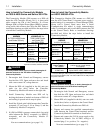
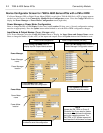
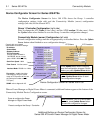
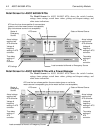
The Device Configurator Screen for Series 300 ATSs shows the Group 1 controller
configuration settings (right side) and the Connectivity Module (server) configuration
settings (left side) for the selected ATS.
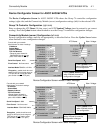
Group 1 Controller Configuration (right side)
Enter or change the ATS Name (8 char. max.) and the ATS Location (20 char. max.). Press
the Update button when finished to save the Group 1 controller configuration changes.
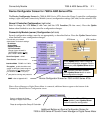
Connectivity Module (server) Configuration (left side)
Several configuration settings must be set appropriately as described below. Press the Update
Server button when finished to save configuration changes.
Device Configurator Screen for Series 300 ATSs
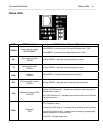
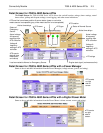
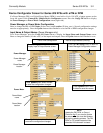
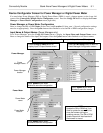
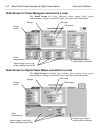
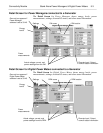
When a Power Manager or Digital Power Meter is connected, additional buttons appear at the bottom of the
Connectivity Module Device Configuration screen.
Additional Buttons on Device Configurator Screen for
Series 300 ATSs with Power Manager or Digital Power Meter
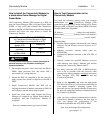
ATS Location
ATS Name
Serial Port Speed 9600
Consult with your network
administrator for these 4 settings:
IP Address
Subnet Mask
Gateway Address
TCP Port Number
(Range of ports allowed is:
1024-65535, but do not
use
ports 14000-14009 or 30718)
Press Update button when finished to
save the configuration changes. Do this
before
you press Update Server button.
After Controller or has been updated,
press Update Server button to save
the configuration changes.
Flow Control No flow control
Interface Mode RS485-4 or 2 Wire
Encyrption enable check box
and assign an AES port (same
range as TCP port but do not
use
the same port number used for
TCP port.)
Press to configure the Power
Manager or Digital Power Meter.
Press to configure the Group 1 Controller.
After Controller, PM, or DPM has been
updated, press Update Server button
to save the confi
g
uration chan
g
es.
SNMP refer to A
pp
endix A-5


