❏
After printing on high-quality glossy paper or
transparencies, remove each sheet from the output tray
immediately. Make sure each sheet is dry before stacking.
❏
Return unused sheets and envelopes to their original
package as soon as possible after you finish printing. Keep
the paper wrapped and store flat in a dry, protected area.
Unfavorable storage conditions—especially high
temperature, humidity, and direct sunlight—can damage
the media.
Loading Coated or Glossy Papers and Transparencies
Use the same procedure described in “Loading Plain Paper
in the Sheet Feeder” to load coated or glossy papers and
transparencies in the sheet feeder. You can load up to the
following number of sheets:
❏
70 sheets of coated paper. However, if you load legal-size
or oversize coated paper for 360 or 720 dpi, do not load
more than 30 sheets and make sure the paper does not
reach more than halfway to the arrow mark on the inside
of the edge guide.
❏
50 sheets of transparency film
❏
30 sheets of high-quality glossy paper.
Note:
Use only EPSON transparency film and high-quality glossy paper.
Remember to change the printer driver settings so they are
appropriate for the media you loaded.
Printing on Continuous Paper
The built-in tractor feeder lets you print on continuous paper
from 4 inches (102 mm) to 16 inches (406 mm) wide. You can
use the tractor feeder without removing paper from the sheet
feeder.
When printing on continuous paper, keep the following in
mind:
❏
When you turn on the printer with paper loaded on the
tractor feeder, it reverses the paper to the paper-park
position and then advances it to the next page. To keep
the loading position accurate, remove any printed sheets
before you turn off the printer.
❏
If the printer runs out of paper during a print job, load
paper onto the push tractor and press the
Pause
button to
continue printing.
❏
If printing appears too high or low on the page, you can
use micro adjust mode to adjust the loading position or
tear-off position. The settings you make remain in effect
until you change them again, even if you turn off the
printer.
c
Caution:
Do not use the knob on the left side of the printer to adjust
the loading position; this may damage the printer or cause
it to lose the top-of-form position.
❏
If the paper is released from the sprocket pins, never feed
paper backward; this may cause a paper jam. Reload the
paper by following the instructions in the next section.
Loading Continuous Paper
Follow these steps to load continuous paper in the printer:
1. Place the supply of continuous paper directly behind the
printer so that paper can feed smoothly. Make sure the
paper path is not obstructed, and allow enough room for
printed pages to be stacked in front of the printer.
2. Move the paper-release lever to the continuous paper
position.
Note:
If a single sheet is in the paper path, press the
Load/Eject
button to eject it before moving the paper-release lever.
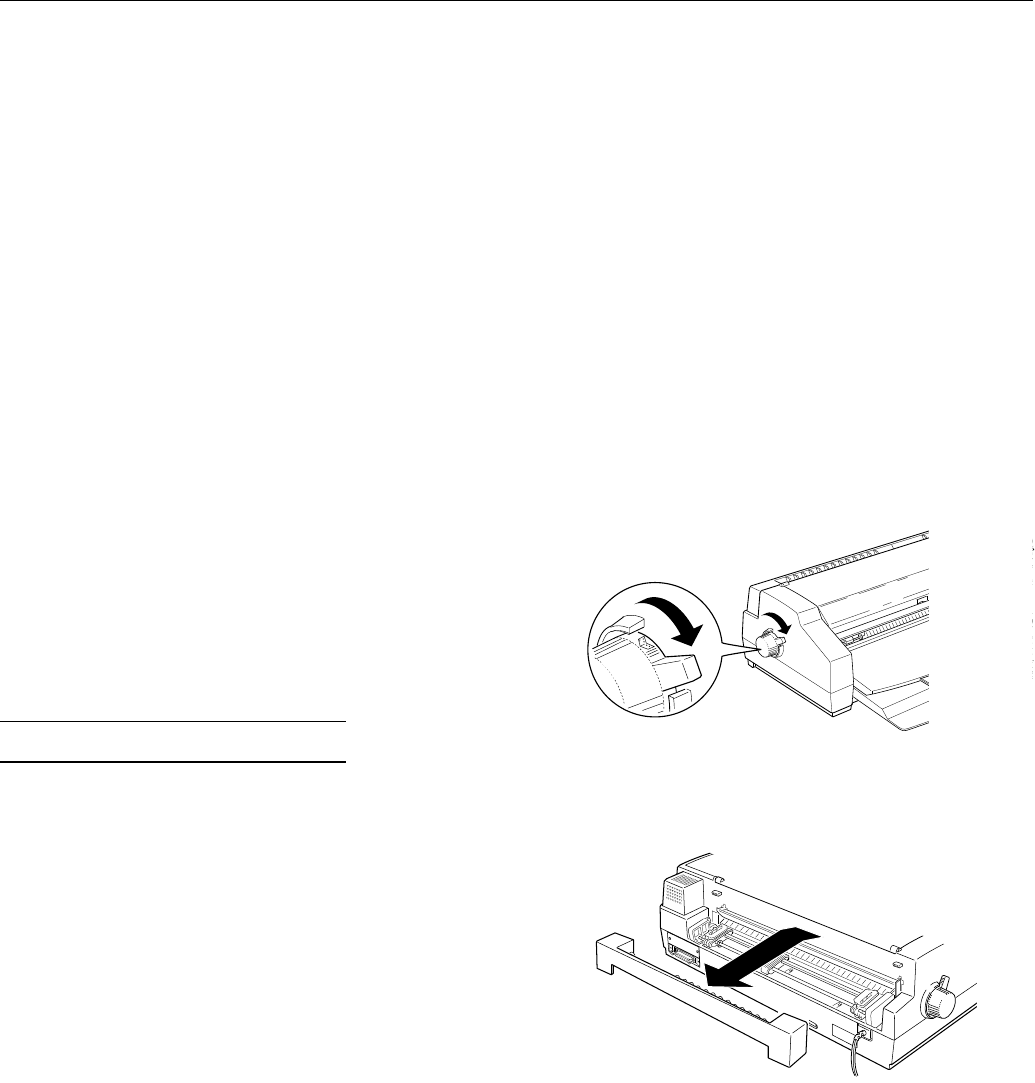
3. Hold the manual feed guide with both hands and gently lift
it up and off the printer.
4. Release the sprocket units on the tractor by raising the
sprocket-lock levers.
5. Move the sprocket units to match the paper’s width; then
position the center support midway between the two
sprocket units.
EPSON Stylus 1500
EPSON Stylus 1500 - 14 1/96 Ink Jet Printers


