


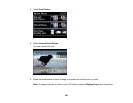
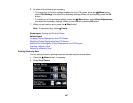

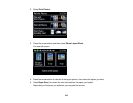

3. Press the arrow buttons and then select Slide Show.
4. To select a displayed photo for printing, press the OK button.
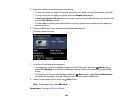
• To print more than one copy of the photo, press the + or – button to select the number (up to 99).
• To crop, zoom into, or rotate your photo, press the Display/Crop button.
• If View Auto Correct: Off appears on the screen, tap the photo to preview how your printouts will
look with Fix Photo turned on.
5. When you are ready to print, press the Start button.
Note: To cancel printing, select Cancel.
Parent topic: Viewing and Printing Photos
Related tasks
Cropping Photos Displayed on the LCD Screen
Modifying Photos Displayed on the LCD Screen
Selecting Print Settings for Photos Displayed on the LCD Screen
Inserting a Memory Card
Removing a Memory Card
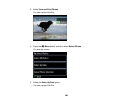
Cropping Photos Displayed on the LCD Screen
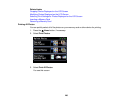
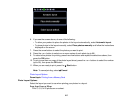
If you want to crop or rotate photos displayed on the LCD screen, press the Display/Crop button and
select the necessary options.
• To crop the photo, press the + button to move the yellow crop area inward or the – button to move the
crop area outward.
• To move the crop area, press the arrow buttons.
• To rotate the image, press the Menu button.
• To check the cropped image, press the OK button.
Parent topic: Viewing and Printing Photos
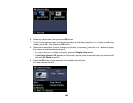
Modifying Photos Displayed on the LCD Screen
You can modify the quality and appearance of photos displayed on the LCD screen. The modifications
affect only the printed copy of the photo, not the original file.
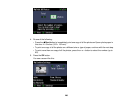
1. Press the Menu button.
2. Select Photo Adjustments.
211