


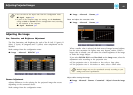
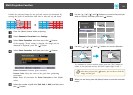

When projecting to a wide screen from multiple projectors, you can adjust
the difference of brightness and color tone between each projected image to
create a seamless screen.
There are two general methods of projecting from multiple projectors.
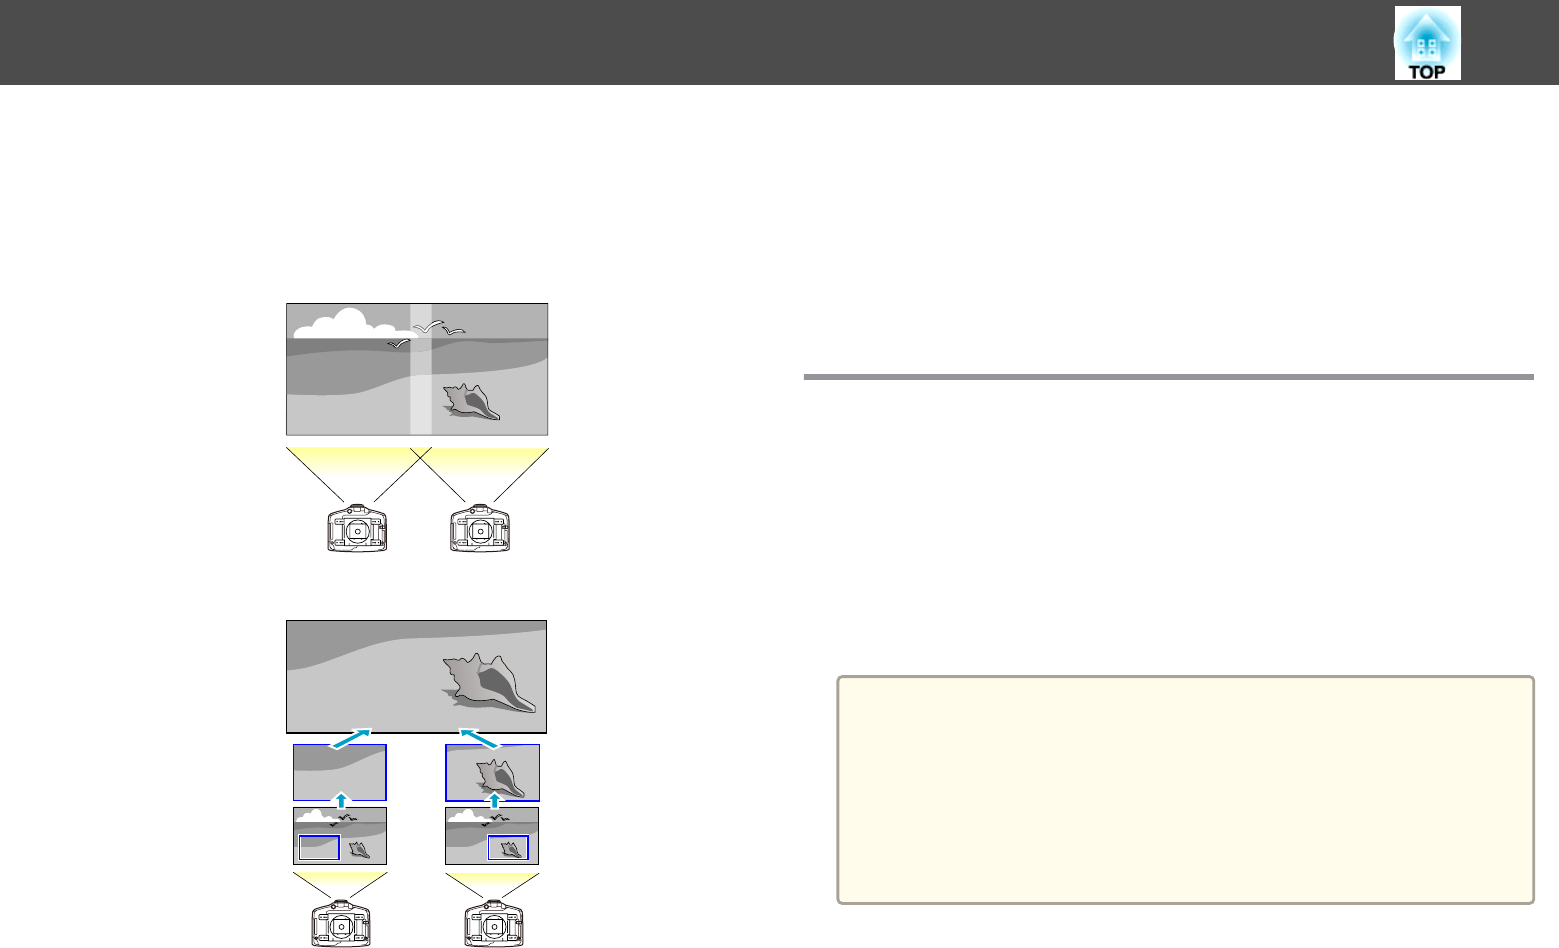
U Projecting different images from each projector, and creating a seamless screen
V Projecting the same image from each projector, using the Scale function to
project a large image
Here we will take
U
as an example.
The steps for
V are the same, but use the Scale function to adjust the
position of the projected image.
s p.58
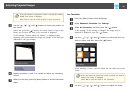
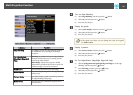
Follow the steps below.
1. Set an ID for the projector and the remote control s p.28
2. Adjust the position of the projected image s p.53
3. Checking the Color Mode
4. Adjust the edges of the images (edge blending) s p.55
5. Adjusting to match colors
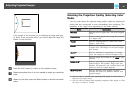
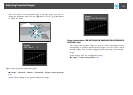
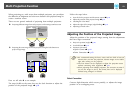
Adjusting the Position of the Projected Image
Adjust the position of the projected image, starting from the adjustments
that have larger corrections.
1. Projector's position (angle) s p.20
2. Lens shift/Zoom s p.24
3. Geometric Correction
• Quick Corner s p.44
• Point Correction
s p.53
a
• We recommend setting the focus, zoom, and lens shift at least 30
minutes after you start the projection, because images are not stable
right after turning on the projector.
• The Test Pattern can be displayed to adjust the projection status
without connecting video equipment. s p.23
• When projecting from multiple projectors, the correction is easier if
you use the image in dot by dot format, that can be displayed
without being enlarged or reduced.
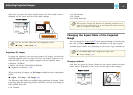
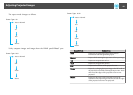
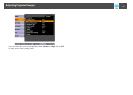
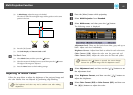
Point Correction
Corrects slight distortion which occurs partially, or adjusts the image
position in an overlapping areas.
Multi-Projection Function
53