30 Using the Remote Control
Resizing Video Images
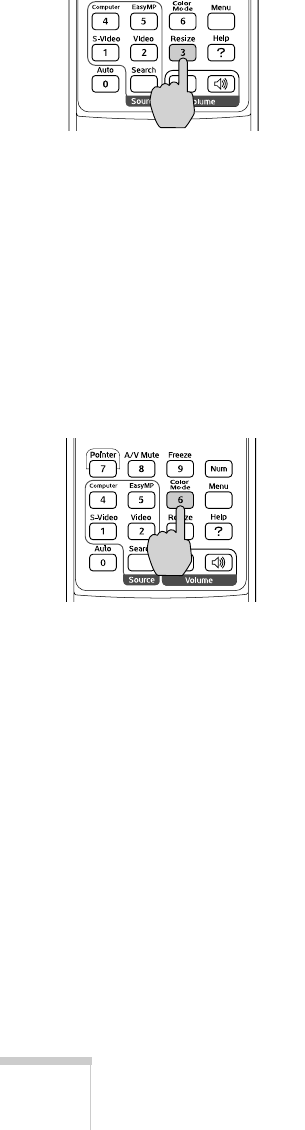
You can use the Resize button on the remote control to adjust how
an image fits into the display area.
For video images, press
Resize to switch the aspect ratio between 4:3
and 16:9, (and Normal for computer images). This lets you play
certain digital video images or movies recorded on certain DVDs in
16:9 widescreen format.
For computer images, resizing is normally unnecessary, since the
projector automatically resizes the image to make the best use of the
display area. If you press the
Resize button on the projector or remote
control, the projector displays the image at the output resolution of
the computer (which makes the image larger or smaller, depending on
its resolution). If the resolution of the image is the same as the
projector’s (1024
× 768), pressing Resize has no effect.
Adjusting the Color Mode
You can use the Color Mode button on the remote control to adjust
the color, brightness, and other aspects of your image.
Press the button repeatedly to select from the following settings:
Photo: For vivid, high-contrast still images in a bright room.
Sports (video, S-video, or composite video only): For vivid TV
images projected in a bright room.
Presentation: For computer presentations (the default when
projecting from a computer with analog video).
Theatre: For optimizing movie images with increased contrast.
Game: For increased brightness when playing video games or
watching TV in a bright room. Emphasizes dark gradations.
sRGB: For matching the color palette of standard sRGB computer
displays
Blackboard: For projecting accurate colors on a green chalkboard
(adjusts the white point).
Customized: For manual color adjustment. (See page 46).


