


Epson PowerLite 745c Projector
10 - Epson PowerLite 745c Projector 8/04
6. Press
Menu to close the Password Protect menu.
Starting the Projector with a Password
Caution:
If you lose the remote control, you will not be able to enter the
password; so keep the remote control in a safe place at all times.
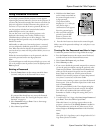
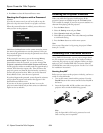
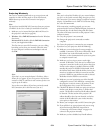
When the password function is enabled, you see this screen
when you turn on the projector:
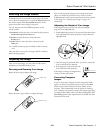
Hold down the
Num button on the remote control as you use
the numeric keypad buttons to enter the password. Once you
have entered the password correctly, the password screen closes,
and projection begins.
If the password is not correct, you see the message
Wrong
password. Please try again
. If you enter an incorrect
password three times in succession, you see the message
The
projector’s operation will be locked. Request code xxxxx
and the projector switches to standby mode for approximately 5
minutes. Write down the request code. Then disconnect the
projector’s power cord from the electrical outlet, reconnect it,
and turn the projector back on. When you see the Password
Protect Release screen, enter the correct password.
If you have forgotten the password, contact Epson for assistance
and give them the request code number that appears in the
Password Protect Release screen.
If you enter an incorrect password 30 times in a row, the
projector remains locked and you must contact an authorized
Epson servicer to unlock it.
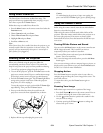
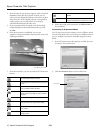
Disabling the Projector’s Buttons
When you enable the Operation Lock function, all the
projector’s buttons are disabled except the P
Power button.
This is useful, for example, if you want to prevent students in a
classroom from playing with the projector.
1. Press the
Menu button.
2. Select the
Setting menu and press Enter.
3. Select
Operation Lock and press Enter.
4. Select
ON and press Enter. Then select Yes and press Enter
to confirm the setting.
5. Press the
Menu button to exit the menu system.
Note:
You can cancel Operation Lock by pressing the projector’s
Enter
button for 7 seconds.
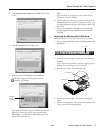
Presenting Over a Wireless Network
Using EMP NS Connection, you can project images shown
on your computer screen directly to your audience without
connecting the projector to your computer. Before you begin,
make sure you’ve installed EMP NS Connection from the
CD-ROM that came with your projector. See the User’s Guide
for installation instructions.
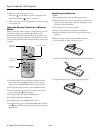
Starting EasyMP
™
Before you can connect to the projector wirelessly, you have to
switch it to EasyMP mode.
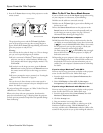
1. Turn on the remote control and the projector. Press the
EasyMP button on the remote control to select EasyMP as
the source.
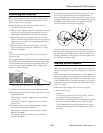
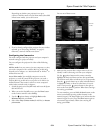
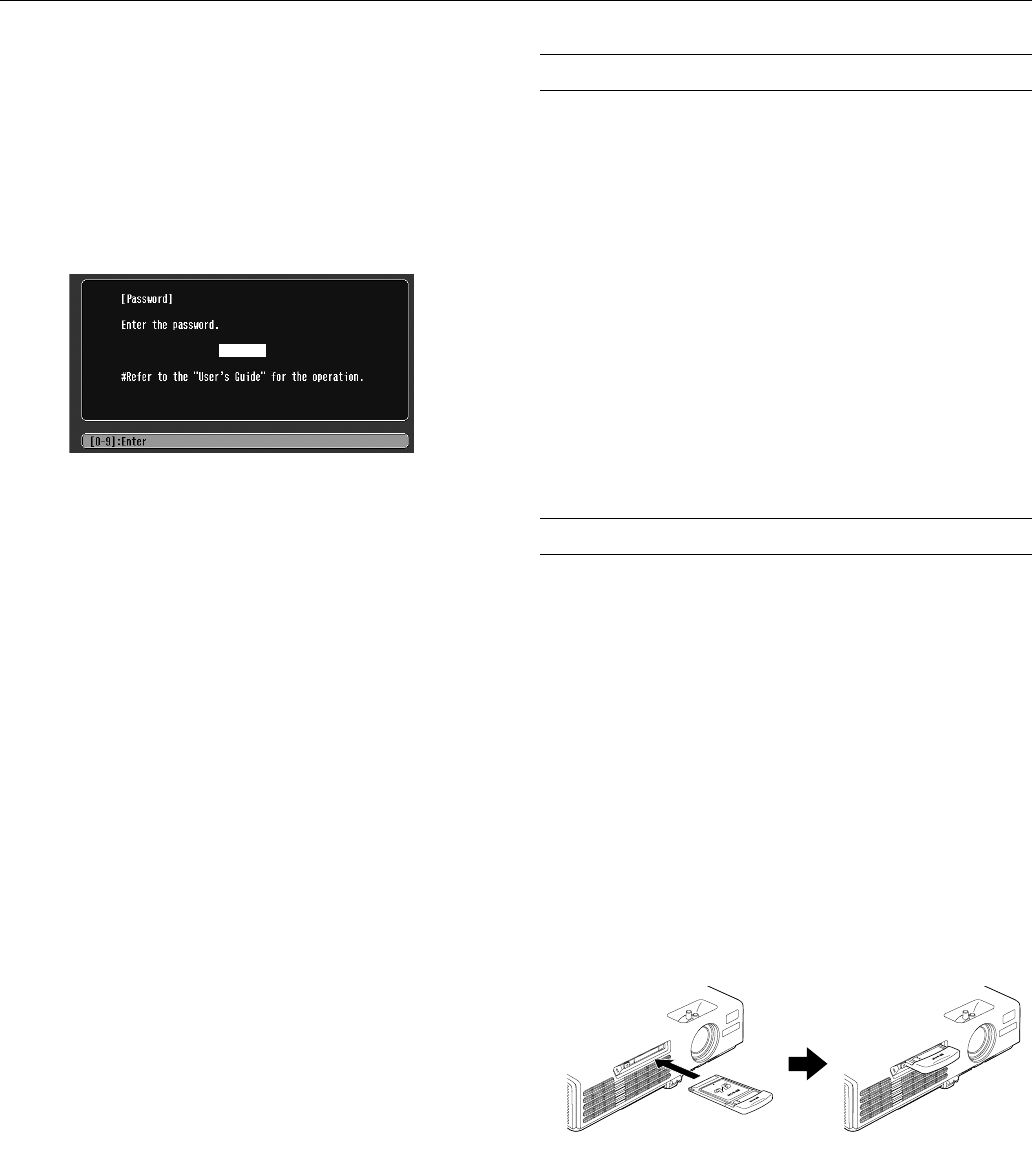
2. Locate the Epson 802.11G/B card that came with your
projector. Insert it with the label facing upward.
Note:
Only the Epson 802.11G/B card is guaranteed to work.
Other cards may not be compatible.