


Epson PowerLite 745c Projector
8/04 Epson PowerLite 745c Projector - 13
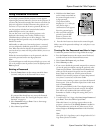
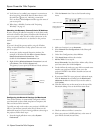
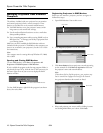
3. Click the
Configure button. Then click the Advanced tab
on the screen that appears. You see a screen like this:
4. Ad Hoc mode: Highlight
Network Type in the Property
list and set the Value to
802.11 Ad Hoc.
Access Point mode: Highlight
Network Type and set the
Value to
Infrastructure.
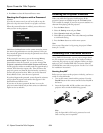
5. Ad Hoc mode: Highlight
SSID and set the Value to match
the name you gave the projector’s ESSID (for example,
CONF ROOM).
Access Point mode: Highlight
SSID and set the Value to
match the name assigned to the access point.
Note:
The SSID is case-sensitive.
6. Highlight
Encryption and make sure it is disabled.
7. Click the
General tab and make sure the network card or
wireless network device is enabled.
8. Ad Hoc mode: Click
OK to close the network card’s
properties dialog box. Then go to “Projecting Wirelessly”
on page 15.
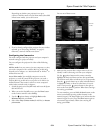
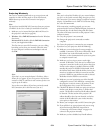
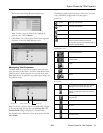
Access Point mode: On the General tab, select
Internet
Protocol, then click the Properties button. You see this
screen:
9. If your access point uses DHCP, select
Obtain IP address
automatically
. Otherwise, select Use the following IP
address
and enter the required information.
❏
IP address: Type in the IP address you want to assign
to the computer. It must be formatted like other
addresses on the network; usually the first three sections
(XXX.XXX.XXX) match the access point’s IP address,
and the last section is unique.
❏
Subnet mask: For example, 255.255.255.000, but
this too must match how your network is set up.
❏
Default gateway: Enter the IP address that was
assigned to the access point when it was set up.
10. When done, click
OK.
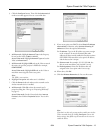
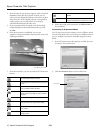
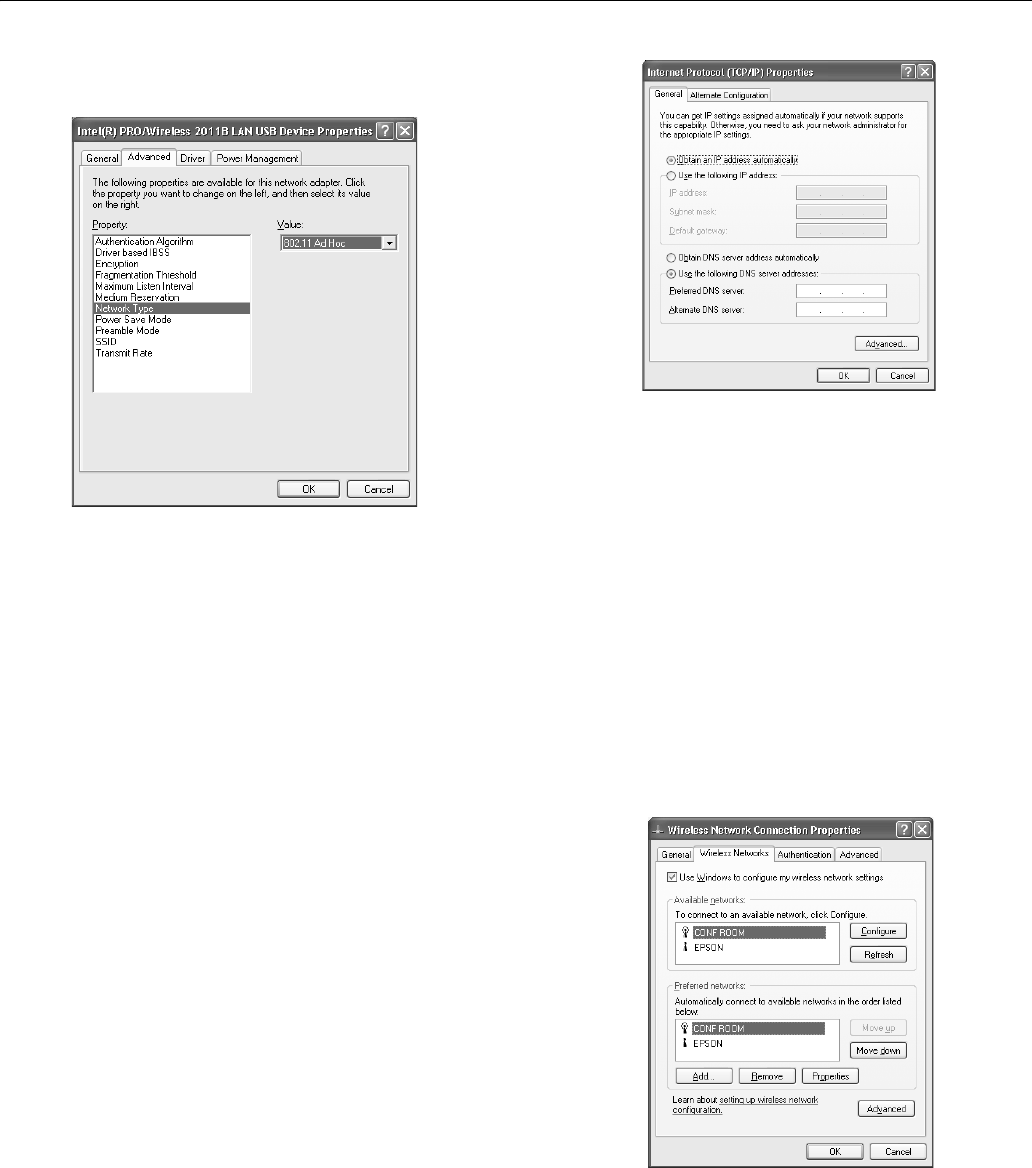
11. Click the
Wireless Networks tab. You see this screen:
Note:
If you don’t see this tab, you may need to enable your wireless
card or network device by clicking
Configure to access the
device settings; then follow any instructions on the screen to
enable the device.