


Faxing a Photo or Document 35
To change the fax settings listed above, follow these steps:
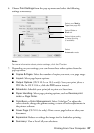
1. Press the
Fax button once to enter Fax mode. The
Fax button lights up and you see this display:
2. Press the
Setup button. You see this display:
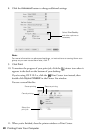
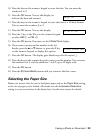
3. If you need to change the
Paper Size, Automatic
Reduction
, or Last Transmission Report
settings, press the u or d button, or press the
4 key
on the numeric keypad, to display this option:
4. Press the
OK button. You see this display:
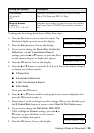
5. Press the u or d button, or press the
3, 4, 5, or 6 key on the numeric keypad,
to display one of these options:
■ 3.Paper Size
■ 4.Automatic Reduction
■ 5.Last Transmission Report
■ 6.Fax Mode
Then press the OK button.
6. Press the u or d button until the setting option you want is displayed, then
press the
OK button to select it.
7. Repeat steps 5 and 6 to change any other settings. When you’re finished, press
the y
Cancel/Back button to return to the 4.Scan & Print Setup menu.
8. If you need to change the
Dial Mode, DRD, ECM,
V.34, or Rings to Answer settings, press the u or
d button, or press the
5 key on the numeric
keypad, to display this option:
9. Press the
OK button. You see this display:
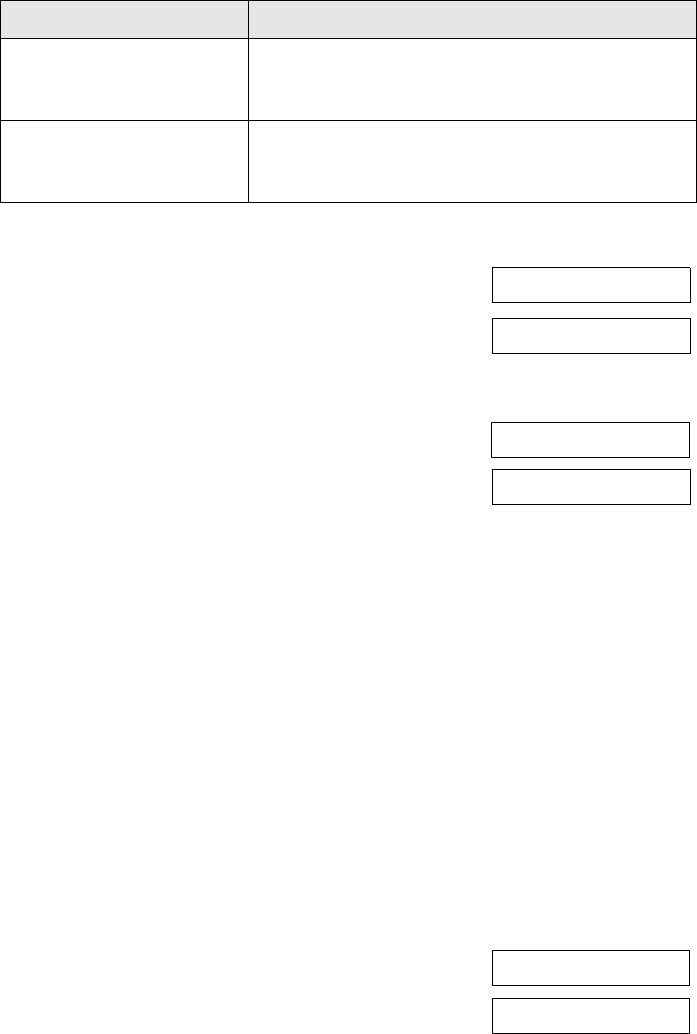
V.34: On/Off
On (default)
Off
Indicates the speed at which you transmit faxes.
On is 33.6 Kbps and Off 14.4 Kbps.
Rings to Answer
4 (default)
1, 2, 3, 5, 6, 7, 8, or 9
Indicates the number of rings that must occur before
the Epson Stylus CX5800F automatically receives a
fax.
Setting and Options Description
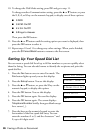
Enter Fax Number
1.Select Speed D
4.Scan & Print S
1.Resolution
5.Communication
1.Dial Mode: Ton