


1
Setting Up the Printer 1-17
R4C4610
Rev. C
A5 size SETUP.FM
6/28/00 Pass 3
R
Proof Sign-off:
SEI Y.Ohkawara K.Kono
K.Kono
SEI M.Kauppi
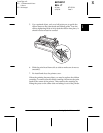
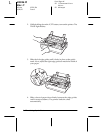
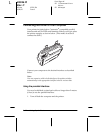
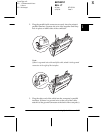
3. Plug the other end of the cable into the computer’s serial
interface; then tighten the screws on either side of the
connector. (If there is a ground wire at the end of the cable,
attach it to the ground connector at the back of the computer.)
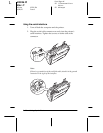
4. Use the Printer Setting mode to change the baud rate or parity
bit if necessary. See “About Your Printer’s Default Settings”
on page 2-25.
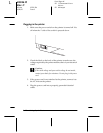
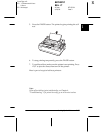
Installing the Printer Software
After you connect the printer to your computer, you need to
install the software included on the EPSON printer software
CD-ROM shipped with your printer.
Your printer software includes:
❏ Printer driver
The printer driver is the software that runs, or “drives,” your
printer. With it, you can make printer settings such as print
quality, resolution, and paper size.
❏ EPSON Status Monitor 3 (Windows 95, 98, or NT 4.0 only)
The EPSON Status Monitor 3 notifies you of printer errors and
displays printer status information.
To install the printer software, see “Installing the software in
Windows 95, 98, or NT 4.0” on page 1-18 or “Installing the
software in Windows 3.1 or NT 3.5x” on page 1-19. If you are using
DOS, see “For DOS programs” on page 1-20.