


4109192 Rev.0 4109192 Rev.0 4109192 Rev.0 4109192 Rev.0
1-B C 1-B M 1-B Y 1-B K
20
5
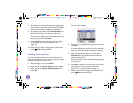
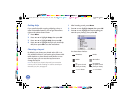
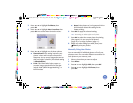
Press u or d to select Black & White or Sepia,
then press OK.
6
At the next screen, select whether to apply the
color effect to the current photo or all photos,
then press OK.
You see your photo(s) with the color effect you
selected.
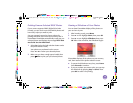
7
Press OK to select the current photo for printing.
(See page 9.) Or you can print all photos
(page 10) or a range of photos (page 11).
8
Adjust any other settings you want, then press
Print to print your photos.
Fixing Photos
PictureMate lets you correct the color and improve the
image quality of your photos without using a
computer. Two types of adjustments are available:
● Automatic adjustments
If your camera supports PRINT Image Matching
(P.I.M.) or Exif Print, the printer’s P.I.M. setting
automatically adjusts your photos for the best
results.
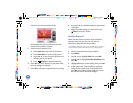
The PhotoEnhance setting improves your photos’
colors and increases contrast and sharpness. It
may correct images that are too dark, too light, or
backlit.
● Manual adjustments
If your photos are too light or too dark, you can
manually adjust their brightness or control the
saturation and sharpness.
If you want, you can make manual adjustments
while P.I.M. or PhotoEnhance are turned on in
order to fine-tune your automatic settings.
Note: These settings affect only your printed pictures. They do
not change your original image files.
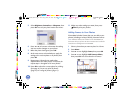
Automatically Fixing Your Photos
PictureMate’s automatic image adjustments are
applied to all your photos.
Note: The type of automatic adjustment you choose is kept until
you remove the memory card or cancel all settings. To use the
same setting whenever you print, see page 58.
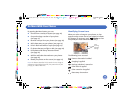
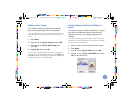
1
After inserting a card, press Menu.
2
Press u or d to highlight Edit, then press OK.
PictureMate.book Page 20 Thur sday, January 18, 2007 4:43 PM