


28
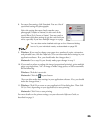
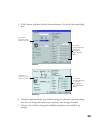
9. If you need to reduce or enlarge the image (proportional printing), print multiple
pages on a single sheet, “tile” an image to make a large poster, or add a watermark,
do the following:
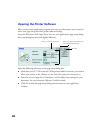
Windows: Click the Layout
tab.
Macintosh: Click the Layout button.
(You can often make these settings in your application software. If so, you should
make the changes there.)
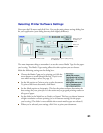
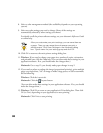
10. Windows: Click OK to return to your application’s Print dialog box. Then click
OK (or Print, depending on your application) to start printing.
Macintosh: Click Print to start printing.
For more details on the printer settings, see your electronic Reference Guide, as
described on page 9.
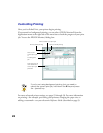
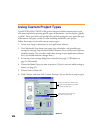
Using Advanced Settings
For maximum control over your project, you can customize your print settings and
use special effects. You can even save your custom settings as a group so you can
quickly select them whenever you print a similar project.
To access advanced settings, follow these steps:
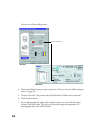
1. Create your image or document in your application software.
2. On a Macintosh, first choose your paper size, orientation, and printable area
settings by selecting Page Setup from the File menu. See your electronic Reference
Guide for details. (You can often make these settings in your application software.
If so, you should make the changes there.)
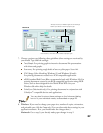
3. Access the printer settings dialog box as described on page 15 (Windows) or
page 21 (Macintosh).
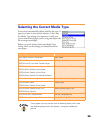
4. Select your Media Type and Ink settings.