


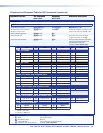
DTP T EU 332, DTP T EU 232, DTP T MK 332, and DTP T MK 232 • Remote Control 28
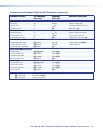
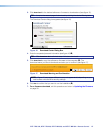
8. Follow the on-screen instructions. The installation creates the necessary subfolders of
C:\Program Files and the necessary groups. It places the appropriate icons into the
correct group folders:
NOTE: C:\Program Files(x86)\ ... for 64-bit Windows OS.
Product Configuration Software —
• Folder — C:\Program Files\Extron\ Extron PCS
• Group folder —Extron Electronics\Extron Product Configuration
Software
• Check for Extron PCS Updates
• Extron PCS Help
• Extron Product Configuration Software
• Uninstall Extron Product Configuration Software
Firmware Loader —
• Folder — C:\Program Files\Extron\FWLoader
• Group folder —Extron Electronics\Firmware Loader
• Check for Firmware Loader Updates
• Firmware Loader Help
• Firmware Loader
• Uninstall Firmware Loader
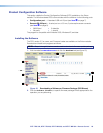
Starting the Program
Start the Extron Product Configuration Software as follows:
1. Click Start > Programs > Extron Electronics > Extron Product Configuration
Software > Extron Product Configuration Software.
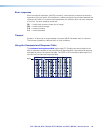
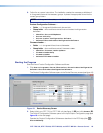
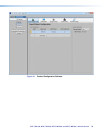
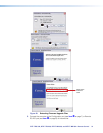
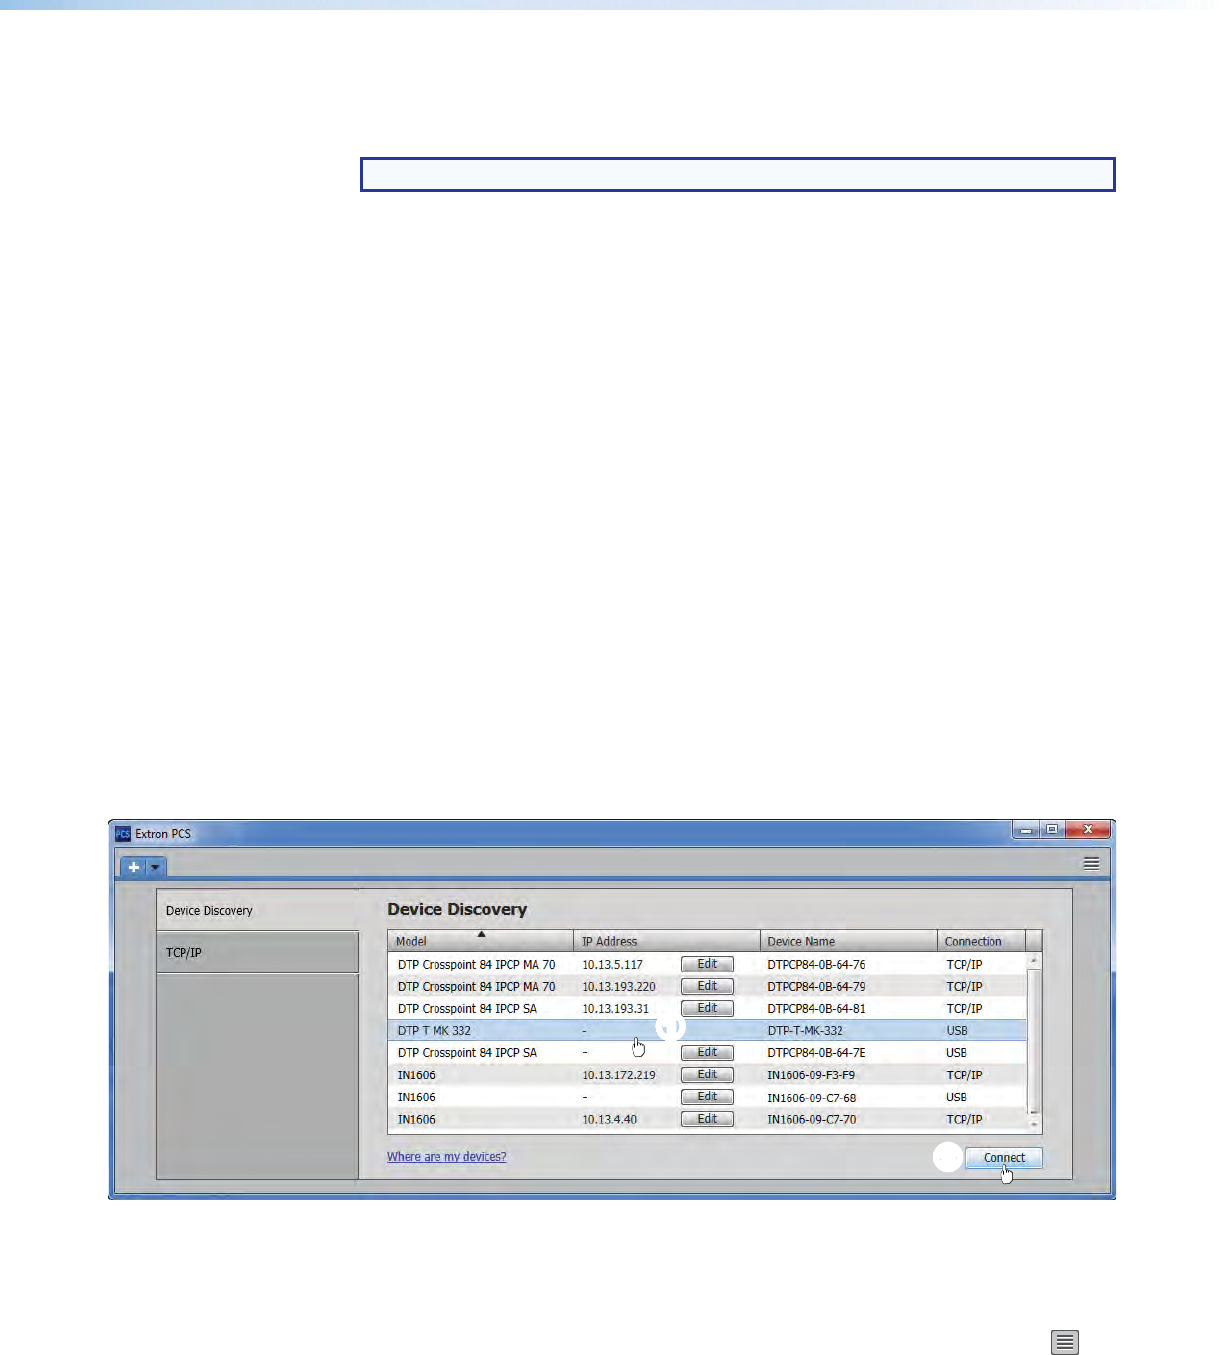
The Product Configuration Software opens to the Device Discovery screen (see figure 18).
1111111111
22
22222222
Figure 18. Device Discovery Screen
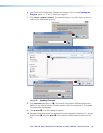
2. Select (click) your DTP T EU or DTP T MK unit (see figure 18, 1) and click Connect (2).
The Product Configuration Software opens to the Input/Output Configuration page (see
figure 19 on the next page).
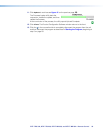
Operate the Product Configuration Software as described in the PCS Help (click >
Extron PCS Help).