


2-7MPS Series • Installation
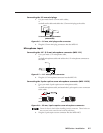
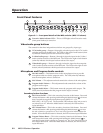
Connecting the 3.5 mm mini-plugs
1. Use pre-made Extron 3.5 mm audio cables,
or
cut bulk audio cable and solder the 3.5 mm mini-plug to the cable.
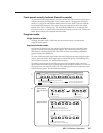
Sleeve ( )
Ring (R)
Tip (L)
3.5 mm Stereo Plug Connector
(unbalanced)
Figure 2-6 — 3.5 mm, mini-plug audio connector
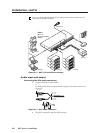
2. Plug the 3.5 mm mini-plug connectors into the MPS 112.
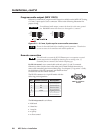
Microphone input
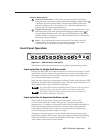
Connecting the 1/4" (6.3 mm) microphone connector (MPS 112)
1. Use a pre-made 1/4" microphone cable,
or
cut bulk microphone cable and solder the 1/4" microphone connector to
the cable.
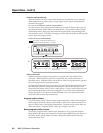
Tip (+)
Sleeve ( )
Figure 2-7 — 1/4" microphone connector
2. Plug the 1/4" microphone connector into the MPS 112.
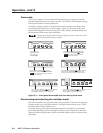
Connecting the 3-pole captive screw microphone connector (MPS 112CS)
1. Use a pre-made 3-pole captive screw microphone cable,
or
cut bulk microphone cable, and attach the 3-pole captive screw connector
to the cable.
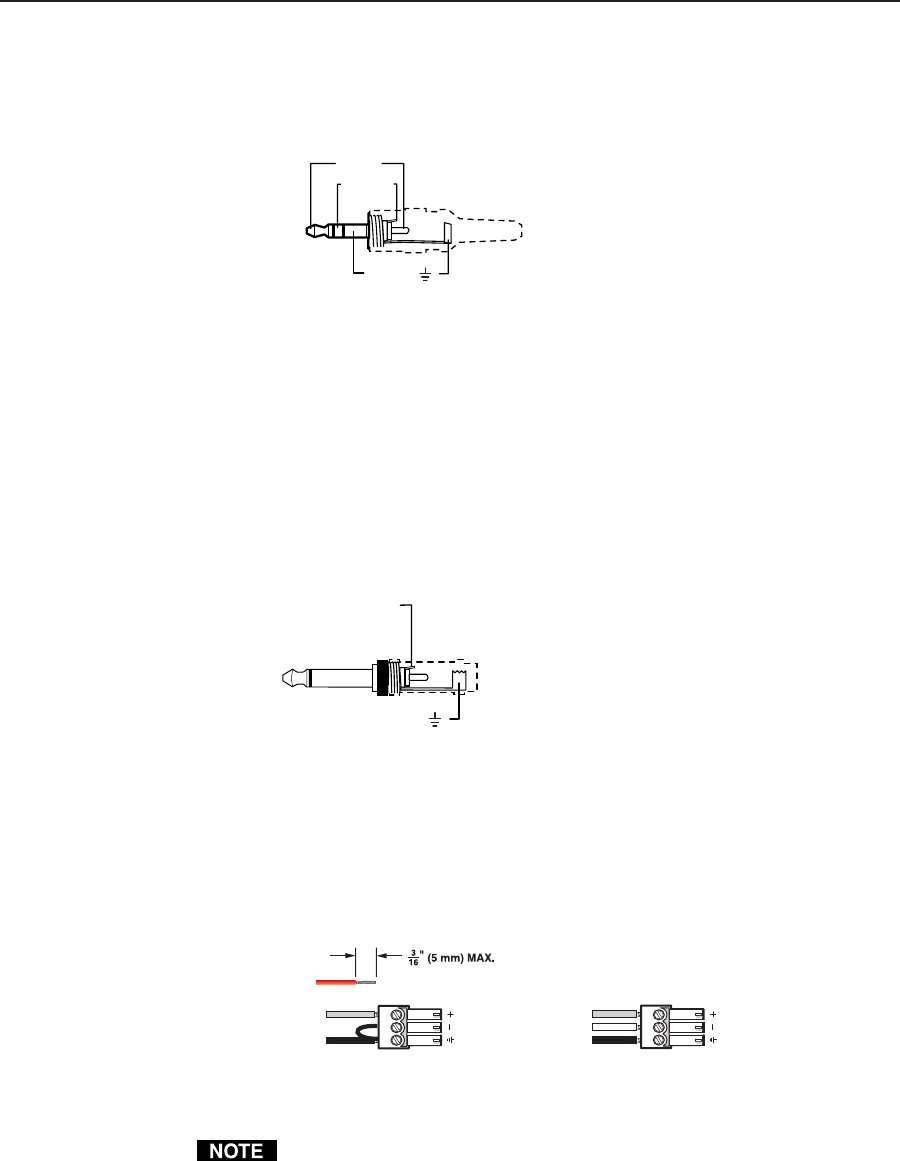
Balanced Mic InputUnbalanced Mic Input
Tip
Ring
Sleeve
Tip
Sleeve
Figure 2-8— 3.5 mm, 3-pole captive screw microphone connector
Do not tin the mic leads before installing into the connector. Tinned wires are
not as secure in the connector and could be pulled out.
2. Plug the 3-pole captive screw connector into the MPS 112CS.