79
- Memory Upgrade Module
Checking the Memory Capacity
Once you have changed the system memory capacity by replacing the installed module with a larger one, be sure to
check that your notebook has recognized the change.
Check the memory capacity by doing the following: from Modern Start screen press [Windows]+[X], then select Control
Panel> System. The amount of memory is displayed next to Installed Memory (RAM): The amount of memory
displayed should be approximately the total of all memory modules installed. There may be a discrepancy which is
allocated for fixed video memory.
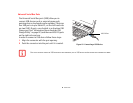
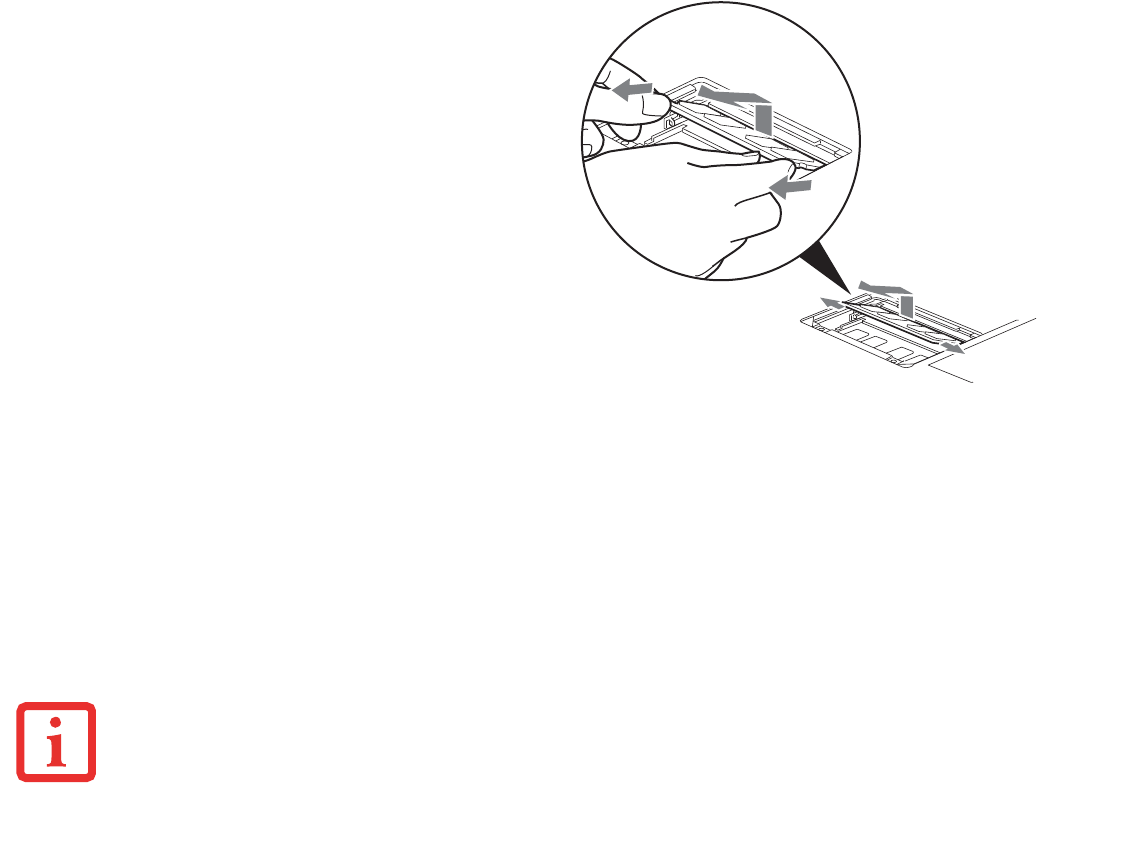
Removing a Memory Upgrade Module
1 Perform steps 1 through 4 of Installing a
Memory Upgrade Module.
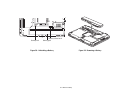
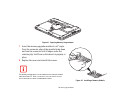
2 Pull the clips sideways away from each side of
the memory upgrade module at the same
time.
3 While holding the clips out, remove the module
by lifting it up and pulling it away from your
Tablet PC.
4 Store the memory upgrade module in a static
guarded sleeve.
5 Replace the cover and reinstall the screws.
Figure 43. Removing a Memory Module
I
F THE TOTAL MEMORY DISPLAYED IS INCORRECT, CHECK THAT YOUR MEMORY UPGRADE MODULE IS PROPERLY INSTALLED. (IF THE MODULE IS
PROPERLY INSTALLED AND THE CAPACITY IS STILL NOT CORRECTLY RECOGNIZED, SEE TROUBLESHOOTING ON PAGE 88
.


