


Chapter 6 Setting Up the VMware ESX Server
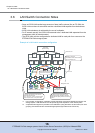
6.1 Setting Up for VMware vSphere
ETERNUS DX Disk storage systems User’s Guide -Server Connection- (iSCSI) for VMware® ESX
24
Copyright 2012 FUJITSU LIMITED P3AM-3412-11ENZ0
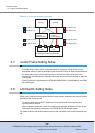
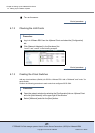
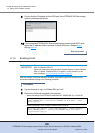
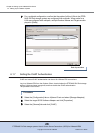
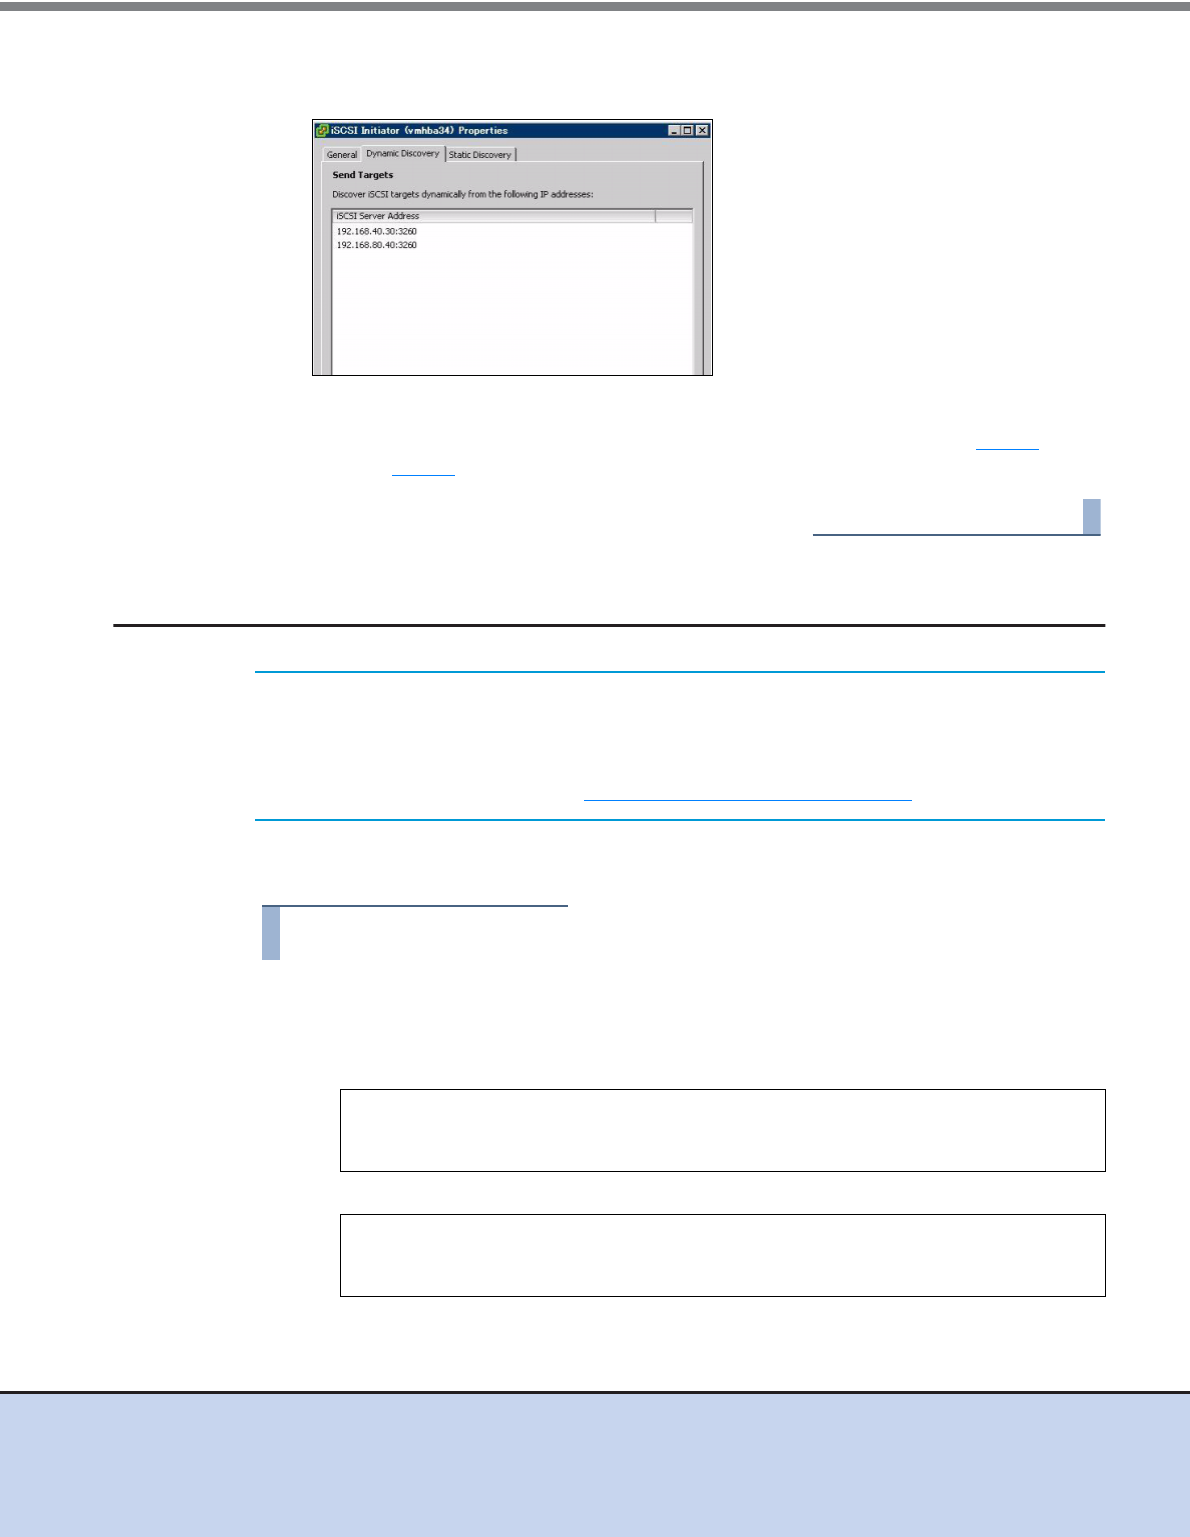
9 Confirm that the IP address for the iSCSI port of the ETERNUS DX Disk storage
system is displayed as follows.
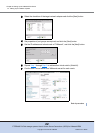
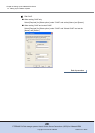
10 If the connected ETERNUS DX Disk storage system uses multiple iSCSI ports,
repeat the IP address addition process for each iSCSI port. (Repeat Step 7
through Step 9
.)
End of procedure
6.1.5 Enabling ALUA
After the VMware ESX server has been installed, Asymmetric Logical Unit Access (ALUA)
should be enabled according to the following procedure.
Procedure
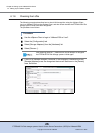
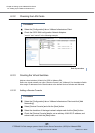
1 Use the terminal to log in to VMware ESX as "root".
2 Execute the following command in the terminal.
• When connecting to an ETERNUS DX60/DX60 S2, DX80/DX80 S2, or DX90 S2
• When connecting to an ETERNUS DX400/DX400 S2 series
IMPORTANT
This procedure is only required when VMware vSphere contains VMware
ESX 4.0/VMware ESXi 4.0.
It does not need to be performed when VMware vSphere contains VMware
ESX 4.0 Update 1/VMware ESXi 4.0 Update 1 or later versions. In this
case, proceed to "6.1.6 Checking the LUNs" (page 26)
.
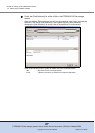
esxcli nmp satp addrule --satp="VMW_SATP_ALUA" --vendor="FUJITSU" --
model="ETERNUS_DXL" --description="ETERNUS DX with ALUA" --claim-
option tpgs_on
esxcli nmp satp addrule --satp="VMW_SATP_ALUA" --vendor="FUJITSU" --
model="ETERNUS_DX400" --description="ETERNUS DX400 with ALUA"
--claim-option tpgs_on