ASTAT
®
-IBP Plus Service Instructions
4 Prices and data subject to change without notice.
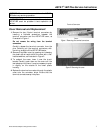
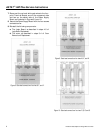
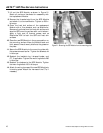
7. Reconnect the red and white gate wires to the four-
point Terminal Boards, one on the component side
and two on the solder side of the Power Supply
Board, as illustrated in Figures 8, 9, and 10.
8. Secure the Power Supply Board with the four screws
removed earlier.
9. Reinstall the following components:
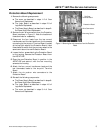
a. The Logic Board, as described in steps 4–5 of
Logic Board Replacement.
d. The cover, as described in steps 3–4 of Cover
Removal and Replacement.
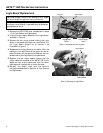
Figure 8. Gate lead connections for sizes K, L, and Y.
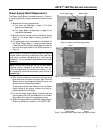
Figure 9. Gate lead connections for sizes M, Z, and N.
Figure 10. Gate lead connections for sizes P, Q, R, and S.


