


Removal and replacement procedures 36
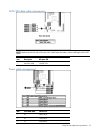
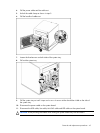
Item PSU cable label Connects to
4 P4 3 hard drive
5
P5
4 hard drive
6 P1 24-pin power connector
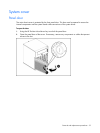
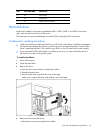
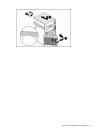
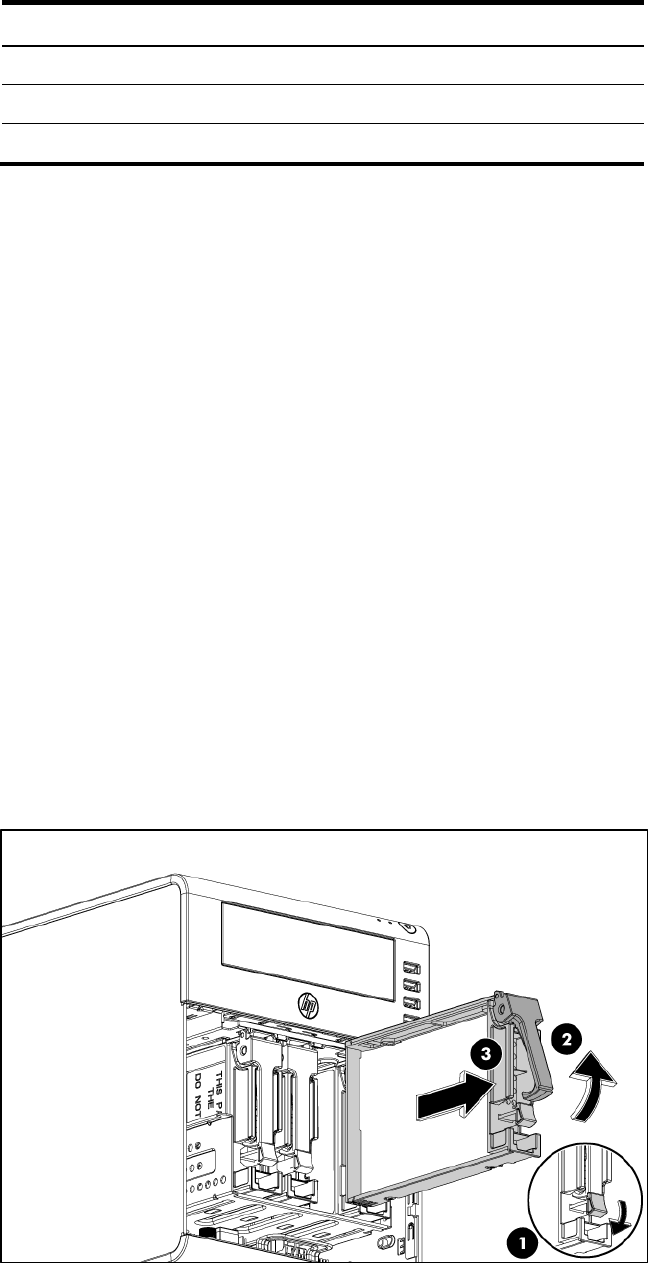
Hard disk drive
Hard drives installed in the server are labeled as HDD1, HDD 2, HDD 3, and HDD 4 from left to
right, when viewed from the front of the server.
The drive bays can accommodate large form factor (LFF) non-hot-plug SATA hard drives.
Guidelines for installing hard drives
• Install only hard drive models specified for your HP ProLiant MicroServer. Installing unsupported
hard drives may damage the system by consuming power and generating heat in excess of the
server’s operating tolerance. This condition may result in a loss of system and/or data integrity.
• If you removed the HDD without plans of installing a new one, you must reinstall the carrier in
the chassis for proper cooling of the system.
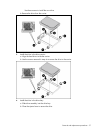
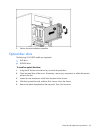
To install a hard drive:
1. Power off the server.
2. Open the panel door.
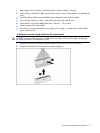
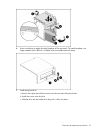
3. Remove the drive:
a. Press the drive carrier button to release the handle.
b. Extend the ejector lever.
c. Use the ejector lever to pull the drive out of the cage.
Make sure to support the drive when pulling it out of the cage.
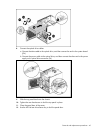
4. Remove the drive from the carrier:
a. Remove the screws securing the drive module.