


25
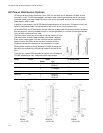
HP Netserver High Density Rack Solutions Overview (LP 2000r)
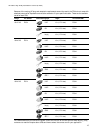
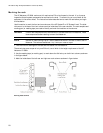
Cable Management
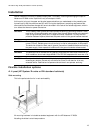
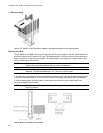
HP System/E racks
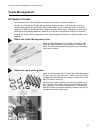
Once the servers have been mounted in the rack, the next task is to connect the cables.
Typically, an HP Netserver LP 2000r will have several of these attached: KVM (keyboard, video and
mouse) cables, peripheral (usually SCSI) cables, LAN cables and one or two power cords, since the HP
Netserver LP 2000r can be equipped with a second, redundant power supply. Managing this multitude of
cables can be a challenging assignment, especially in a rack with multiple servers along with the slides.
However, by following HP’s recommendations for cable management the task will require less effort than
expected.
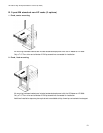
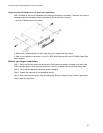
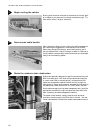
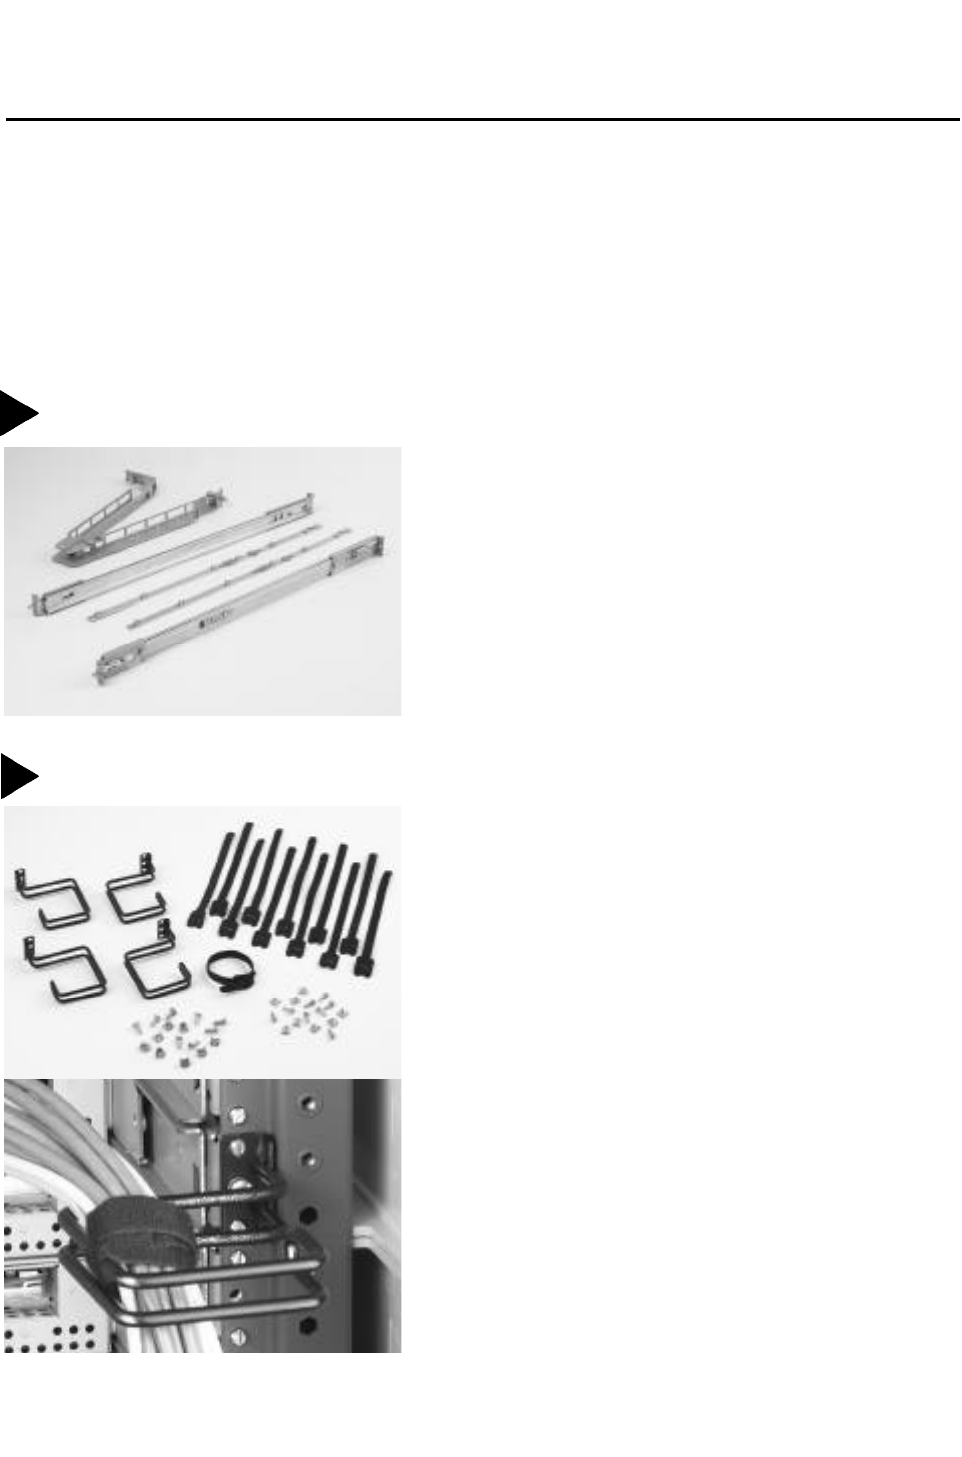
1 Attach the Cable Management Arm.
Attach the Cable Management Arm (CMA) to the rear of each
server per the instructions in the HP Netserver LP 2000r User
Guide. The CMA comes as standard equipment with the servers
(along with the slides).
2
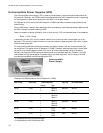
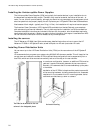
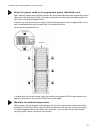
2 Attach the main cable guides.
Attach the brackets from the HP J1481A Rack Cable Management
Kit to the right rear post of the rack. The kit contains four cable
management brackets as well as 12 Velcro™ ties and all the hard-
ware you need for mounting.
We have found it most convenient to attach the brackets at EIA
units 14U, 20U, 27U and 33U (counting from the bottom of the
rack), especially if you need to include the fifth, horizontal PDU
because it needs to be located towards the middle of the rack for
the best routing of the power cords.