


5. Enter the default gateway address and press Enter.
6. Enter Y to configure the network and press Enter.
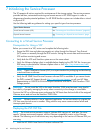
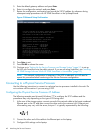
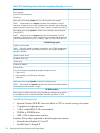
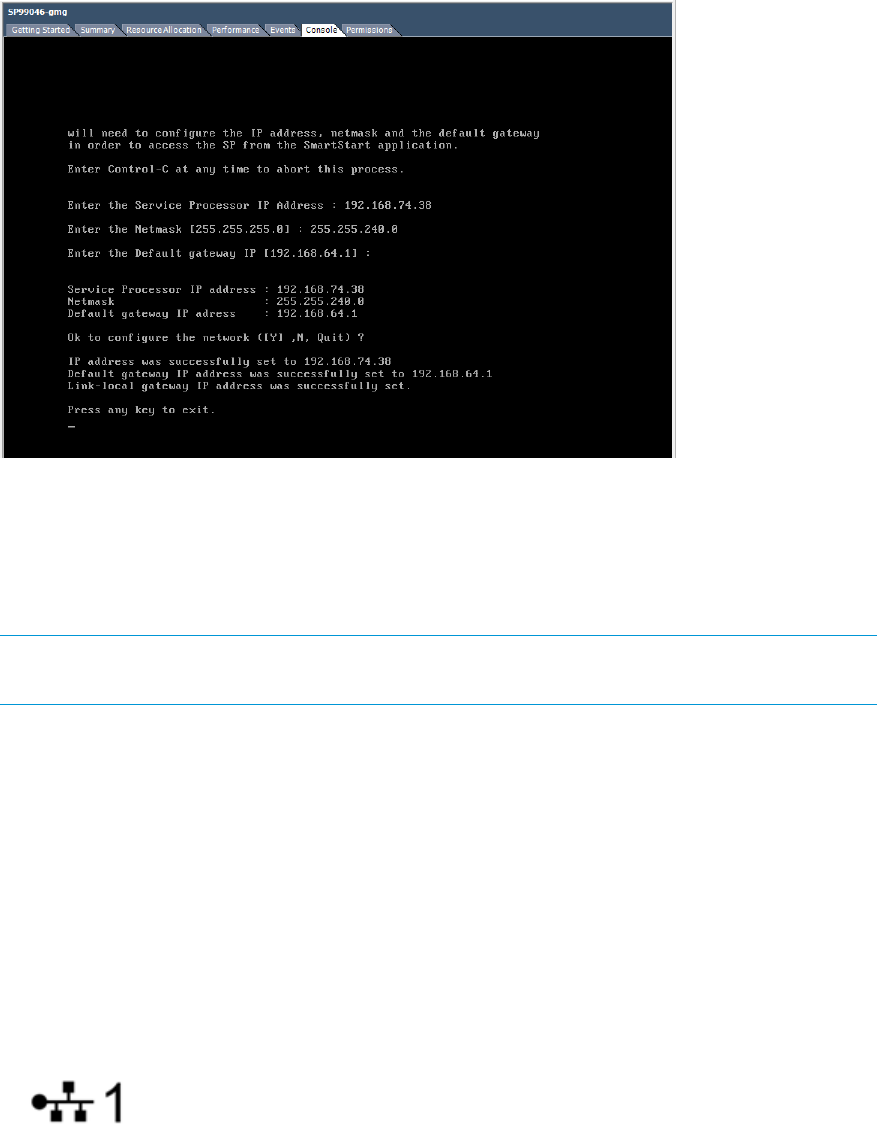
7. Review the configuration confirmation and record the VSP IP address for reference during
subsequent setup procedures with HP 3PAR SmartStart or the SpSetupWizard.
Figure 43 Network Setup Confirmation
8. Press Enter to exit.
9. Press Ctrl-Alt to release the cursor.
10. Continue on to “Setting Up the Service Processor and Storage System” (page 51) to set up
the VSP with SmartStart over the public network. If you are not using SmartStart, see “Installing
HP 3PAR Storage Software When HP 3PAR SmartStart is Unavailable” (page 92).
NOTE: This network configuration is temporary. If the VSP is rebooted, you will need to
repeat this procedure before continuing to the Service Processor configuration.
Connecting to a Physical Service Processor
Use the following instructions to connect to a physical service processor installed in the rack. Do
not continue with the section if you are using a VSP.
Configuring the Physical Service Processor IP Address
The following example uses Microsoft Windows 7™ to configure the SP IP address and the
procedures may vary depending on the type of OS being used.
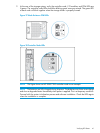
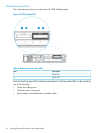
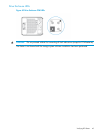
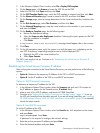
1. At the rear of the storage system, connect one end of the network cable to the lowest numbered
Ethernet port on the SP, and then connect the other end to the customer LAN. Ethernet port
silk-screening may vary with the server, but port 1 is typically represented by the following:
2. Connect the other end of the cable to the Ethernet port on the laptop.
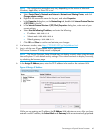
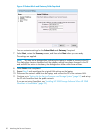
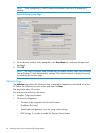
3. Configure LAN settings on the laptop:
48 Initializing the Service Processor