7
SETTING UP THE PROJECTOR
1
Place the projector on a flat surface.
•
The projector must be within 10 feet (3 m) of your power
source and within 10 feet of your computer.
NOTE: An optional extension
cable, sold separately, lets you
increase the distance between the
projector and your computer to
70 feet (21 m). See “Optional
Accessories” on page 52.
•
If you want to project from behind a translucent screen, set
up the projector behind your screen. See “Rear Projection”
on page 38 to reverse the image.
•
If you are installing the projector on the ceiling, refer to the
LP 700 Series Ceiling Mount Installation Guide
that comes
with the Ceiling Mount Kit for more information. To turn
the image upside down, see “Ceiling” on page 38. The Ceil-
ing Mount Kit is sold separately; see page 52.
2
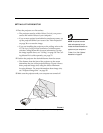
Position the projector the desired distance from the screen.
•
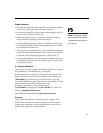
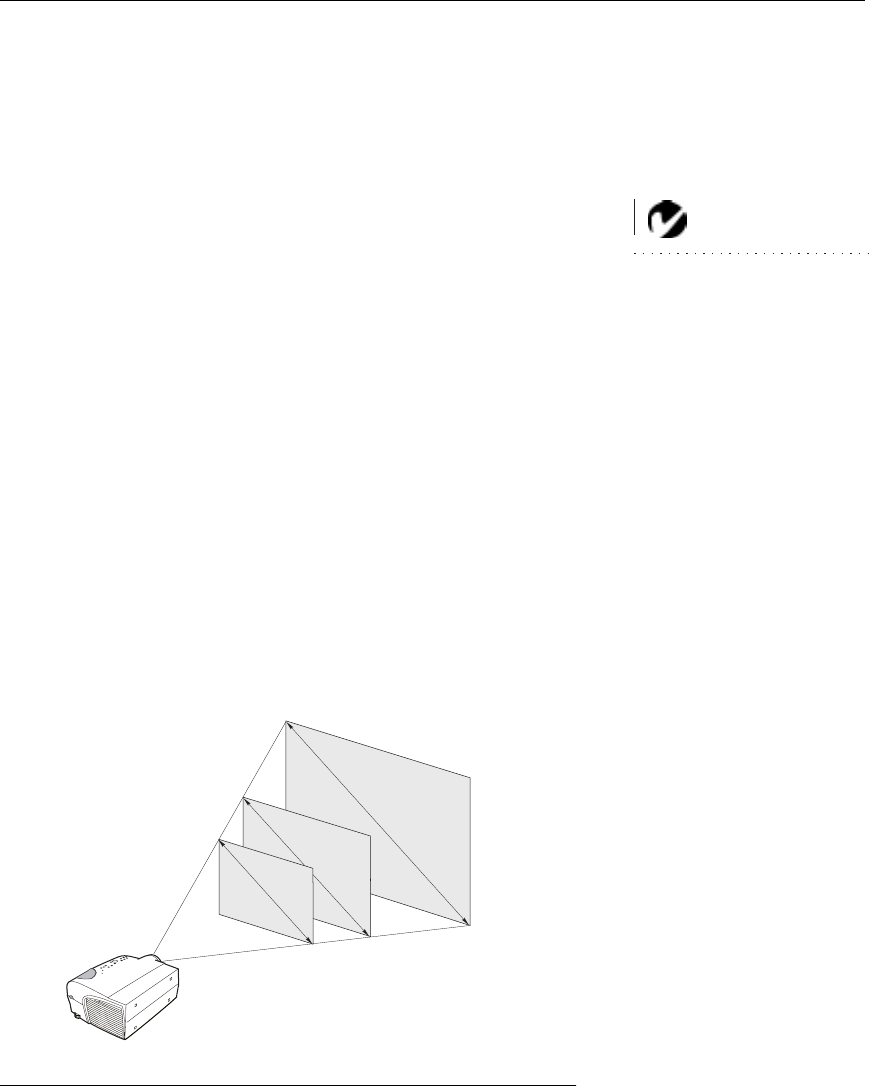
The distance from the lens of the projector to the screen
determines the size of the projected image. Figure 4 shows
three projected image sizes using the lens at minimum
focusing distance. For more information about image size,
see “Projected Image Size” on page 58.
3
Make sure the projector and your computer are turned off.
FIGURE 4
Projected image size (minimum focusing distance)
2
.
5
f
t
.
2
5
f
t
.
5
f
t
.
3.3 ft.
6.5 ft.
32.5 ft.


