27
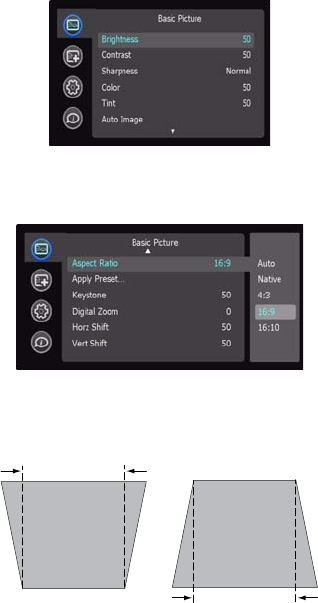
Basic Picture menu
To adjust the following settings, highlight the setting, press Select, use the
arrow buttons to adjust the values, then press Select to confirm the changes.
Brightness: Changes the intensity of the image.
Contrast: Controls the degree of difference between the lightest and darkest
parts of the picture and changes the amount of black and white in the
image.
Sharpness: Changes the clarity of the edges of a video image. Select a
sharpness setting.
Color: Adjusts a video image from black and white to fully saturated color.
The color setting applies to video sources only.
Tint: Adjusts the red-green color balance in the image of NTSC video
images. The tint setting applies to NTSC video sources only.
Auto Image: Forces the projector to reacquire and lock to the input signal.
This is useful when signal quality is marginal.
Aspect Ratio: Aspect ratio is the ratio of the image width to image height. TV
screens are usually 4:3. HDTV and most DVDs are 16:9.
Select Auto to have the projector choose the ratio. Choose Native to see the
unmodified input with no resizing by the projector. Select 16:9 to watch
enhanced widescreen DVDs.
For more information regarding Aspect Ratio, see page 13.
Apply Preset...: Presets are provided that optimize the projector for
displaying computer presentations and video images under certain
conditions.
There is also a user-definable preset. To set this preset, adjust the image and
select Save User in the Presets menu. You can recall these settings in the
future by selecting the User preset.
Keystone: Adjusts the image vertically and makes a squarer image.
Digital Zoom: Changes the size of projector’s display area. If the display area
has been resized by this setting, it can be moved by changing the Horz Shift
and Vert Shift settings.
Horz Shift/Vert Shift: Moves the display area horizontally or vertically if its
size has been changed by the Digital Zoom setting.
.
Basic Picture menu
Aspect ratio
Increasing keystone
Decreasing keystone


