PRJ-WALLKIT-13 Installation Instructions
12
Visit the InFocus support site at www.infocus.com/support
Cable Management (Optional)
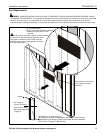
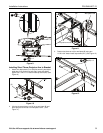
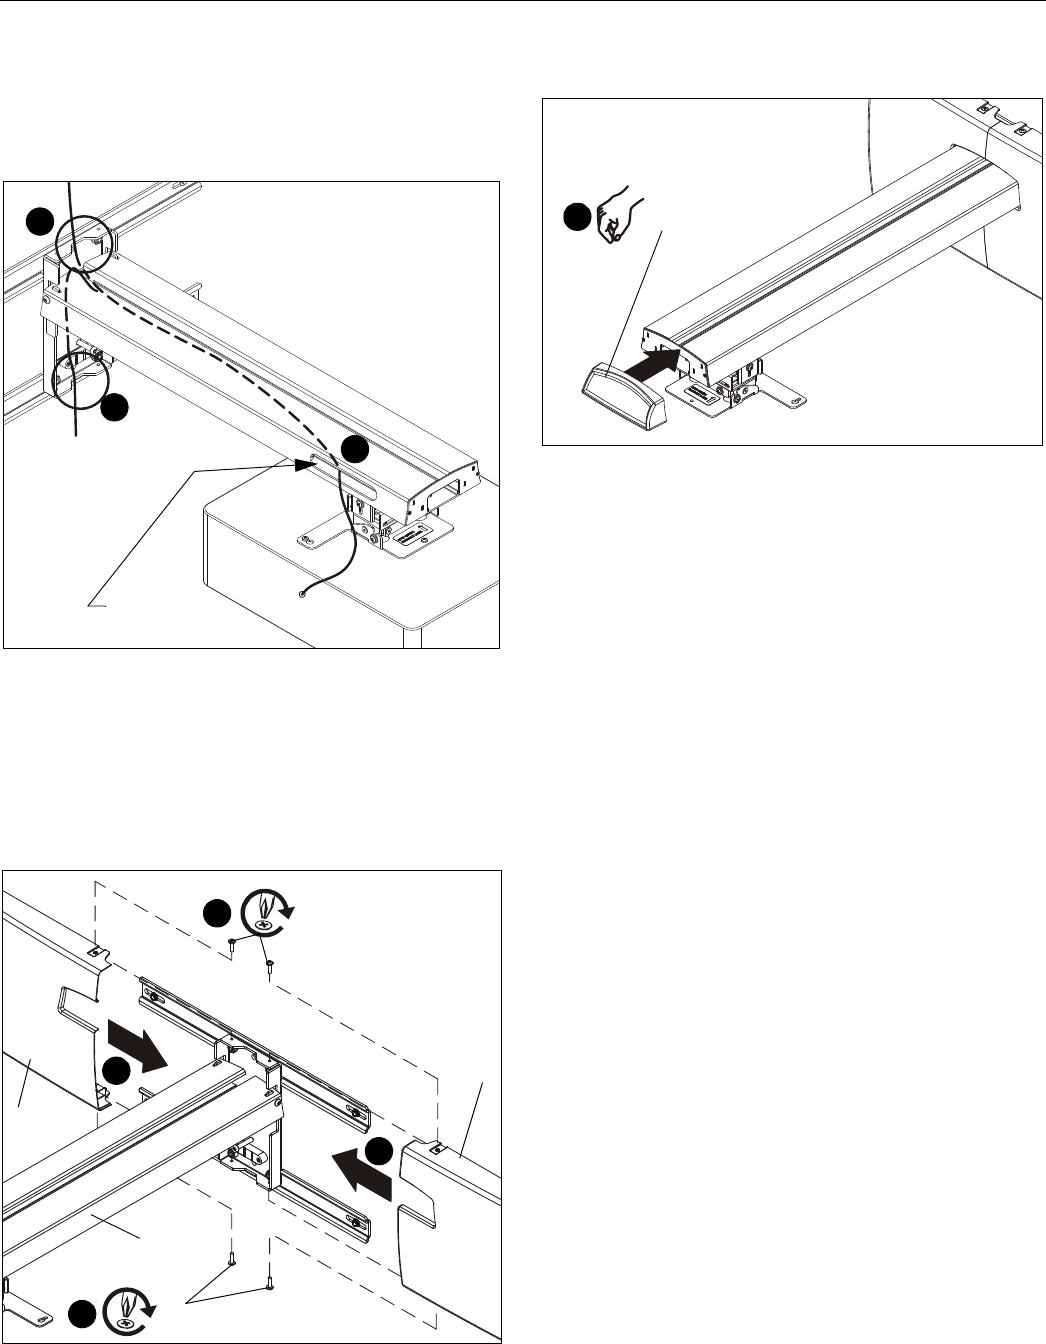
1. Route cables/cords from projector through opening on
projector arm and route to wall. (See Figure 18)
2. Guide cables/cords from wall end of projector arm upward
or downward through slots in wall plate. (See Figure 18)
Figure 18
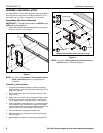
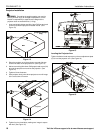
Add Plastic Covers
1. Add right and left plastic covers (E and F) over brackets.
(See Figure 19)
2. Fasten covers using four 10-24 x 5/8" Phillips cap head
screws (HB). (See Figure 19)
Figure 19
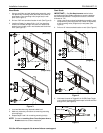
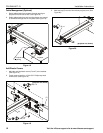
3. Add end cap (D) to end of short throw projector arm. (See
Figure 20)
Figure 20
2
1
2
Projector arm
opening
Projector
2
(HB) x 2
1
1
(A)
(E)
(F)
2
(HB) x 2
(projector not shown)
3
(D) x 1
(projector not shown)


