Getting started 2
This chapter gives you details on setting up your printer and using the functions available on its
panel.
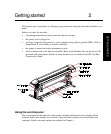
Before you start, be sure that:
• all packing materials have been removed from the carriage
• the power cord is plugged in
• you have connected your printer to your computer using either a parallel (IEEE 1284) or
ImageWriter II serial cable or network controller
• the printer is turned on before attempting to print
• driver software and color links are installed. Refer to the Readme files on the driver CDs
provided with your printer. Details on using the drivers are contained in the PC and Mac
Connectivity Guide.
Using the control panel
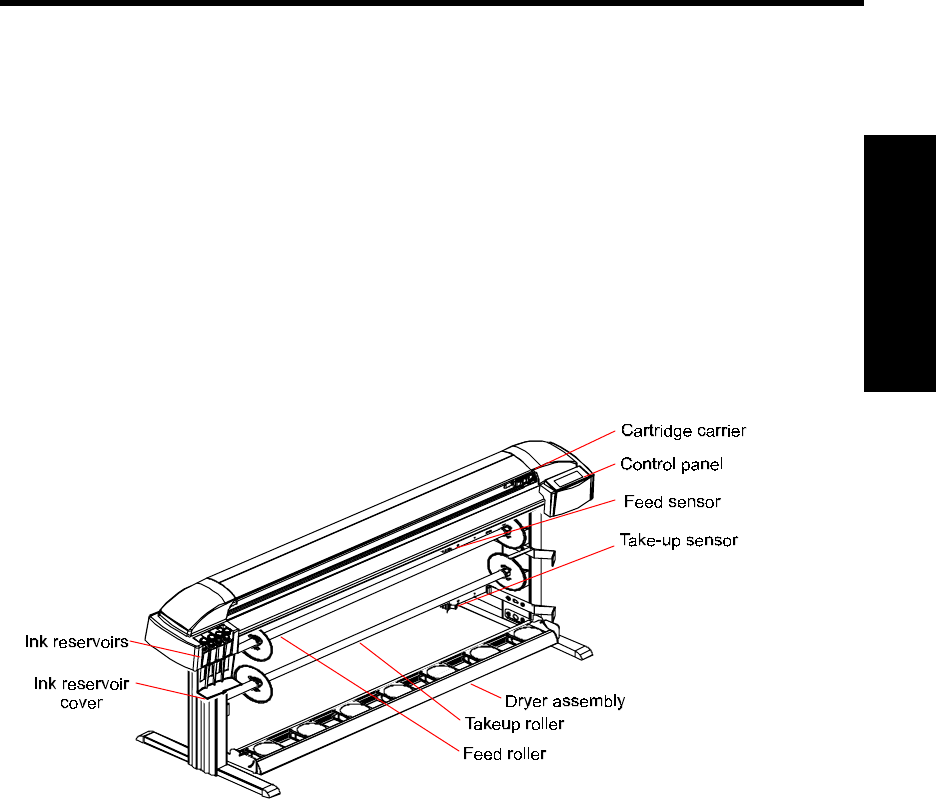
The control panel at the right side of the printer includes eight buttons and a display which
indicates modes and settings. An overview is provided here so that you can load media and
cartridges. Details on menu options are included in Chapter 3.
GETTING STARTED


