


1
23
45
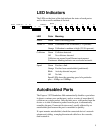
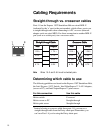
Blink = Activity Orange = Autodisabled
Speed
100
10
1
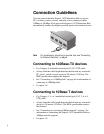
Quick Start
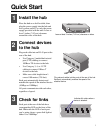
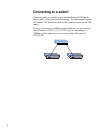
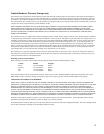
Install the hub
Place the hub on a shelf or table, then
plug the power supply into the hub and
into a power outlet. Use only the power
supply provided with the unit. Leave at
least 3 inches (7.62 cm) clearance
around the sides of the hub.
1
2
3
Intel Express 130T Standalone Hub
Traffic % CollisionsPower 1
23
456
78
3 12 50+
312
50+
Solid green = Link Blinking green = Activity
10
100
Speed
100
100
10
10
Orange = Autodisabled
Leave at least 3 inches (7.62 cm) clearance on sides.
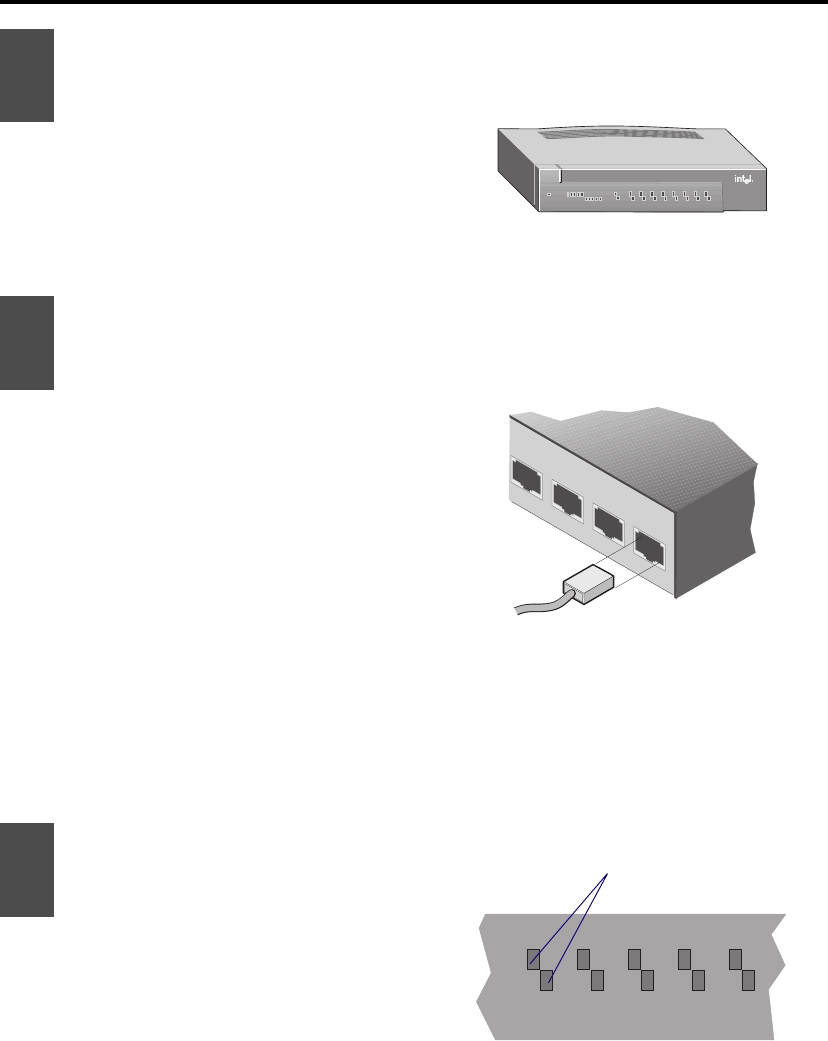
Plug network cables into the ports at the rear of the hub.
Each port automatically matches the speed of the
attached device.
Indicates link status when a
device is attached.
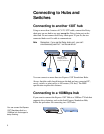
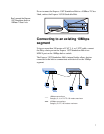
Connect devices
to the hub
Plug each cable into an RJ-45 port at the
rear of the hub.
• Use Category 5 unshielded twisted
pair (UTP) cabling to connect
100Base-TX devices to the hub.
• Use Category 3, 4, or 5 UTP
cabling to connect 10Base-T
devices to the hub.
• Make sure cable length doesn’t
exceed 100 meters (328 feet).
Each port automatically detects and
matches the speed of the attached device
(10Mbps or 100Mbps).
All ports communicate with each other,
regardless of speed.
Check for links
Each port at the rear of the hub has a
corresponding LED on the front of the
hub. Make sure the LED of each port
you’re using shows a green link light at
either 10 or 100Mbps.