Unique Features- 63 -
Chapter 4 Unique Features
4-1 Xpress Recovery2
"*" Xpress Recovery2 checks the first physical hard drive in the following sequence: The first PATA IDE connector,
the second PATA IDE connector, the first SATA connector, the second SATA connector and so forth. For
example, when hard drives are attached to the first IDE and the first SATA connectors, the hard drive on the first
IDE connector is the first physical drive. When hard drives are attached to the first and second SATA connectors,
the hard drive on the first SATA connector is the first physical drive.
Xpress Recovery2 is a utility that allows you to quickly compress and
back up your system data and perform restoration of it. Supporting
NTFS, FAT32, and FAT16 file systems, Xpress Recovery2 can back
up data on PATA and SATA hard drives and restore it.
Before You Begin:
• Xpress Recovery2 will check the first physical hard drive* for the operating system. Xpress
Recovery2 can only back up/restore the first physical hard drive that has the operating system
installed.
• As Xpress Recovery2 will save the backup file at the end of the hard drive, make sure to leave
enough unallocated space in advanced (10 GB or more is recommended; actual size require-
ments vary, depending on the amount of data).
• It is recommended to back up your system soon after the operating system and drivers are
installed.
• The amount of data and hard drive access speed may affect the speed at which the data is backed
up/restored.
• It takes longer to back up a hard drive than to restore it.
System Requirements:
• Intel
®
platform
• At least 512 MB of system memory
• VESA compatible graphics card
• Windows
®
XP with SP1 or later, Windows
®
Vista
• Xpress Recovery and Xpress Recovery2 are different utilities. For example, a backup file created with Xpress
Recovery cannot be restored using Xpress Recovery2.
• USB hard drives are not supported.
• Hard drives in RAID/AHCI mode are not supported.
Installation and Configuration
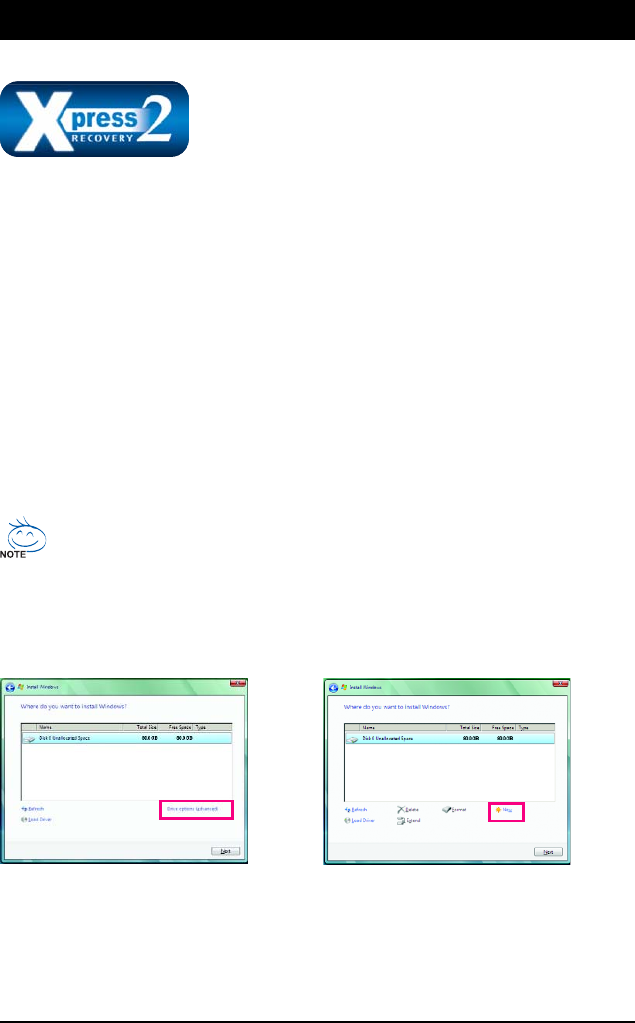
Turn on your system to boot from the Windows Vista setup disk.
A. Installing Windows Vista and Partitioning the Hard Drive
Step 1:
Click Drive options.
Step 2:
Click New.


