L440GX+ Server Board Product Guide 23
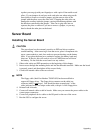
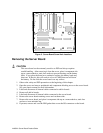
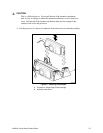
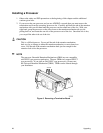
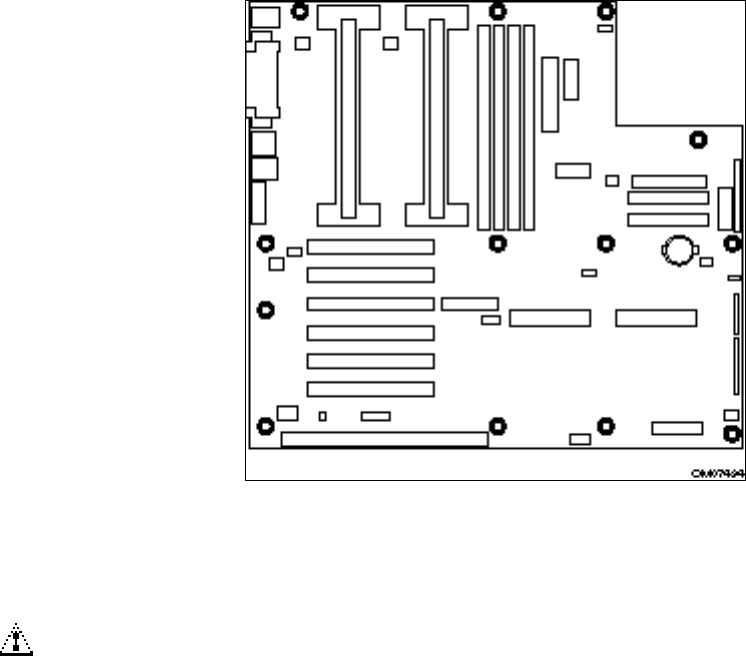
Figure 3. Server Board Screw Hole Locations
Removing the Server Board
CAUTION
The server board can be extremely sensitive to ESD and always requires
careful handling. After removing it from the server, place it component side
up on a nonconductive, static free surface to prevent shorting out the battery
leads. If you place the board on a conductive surface, the battery leads may
short out. If they do, this will result in a loss of CMOS data and will drain
the battery. Do not slide the server board over any surface.
1. Observe the safety and ESD precautions at the beginning of this chapter.
2. Open the server and remove peripherals and components blocking access to the server board.
See your chassis manual for more information.
3. Label and disconnect all internal cables connected to add-in boards.
4. Remove all add-in boards.
5. Label and disconnect all internal cables connected to the server board.
6. Remove the server board retaining screws and set them aside.
7. Remove the server board, and place it component side up on a nonconductive, static free
surface or in an antistatic bag.
8. If present, remove and save the EMI gasket that covers the I/O connectors on the board.


