


16 EN
Master Page: Left-Heading0
M4D3+DSC_Soft_04PhotoNavi.fm Page 16
CHANGING THE IMAGE SIZE OR PICTURE QUALITY
This procedure describes how to change the size of an image that has been loaded into Digital Photo
Navigator. This procedure is used to reduce the size of an image that is being attached to an e-mail or saved
in an album.
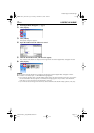
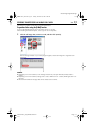
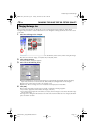
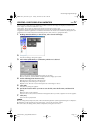
1 Select the still image to be changed.
● To select more than one still image, hold down the Shift key or the Ctrl key while clicking the images.
● To select all of the still images, click [Select All] in the [Edit] menu.
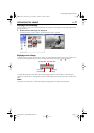
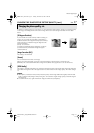
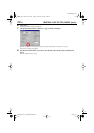
2 Click [Change Format].
The [Image Format] dialog box appears.
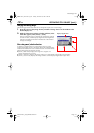
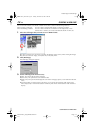
3 Select one of the following items:
● [Expansion/Reduction]: Set any desired image size in the [Width] and [Height] fields. If the [Keep
aspect ratio] check box is not selected (off), both [Width] and [Height] fields can be changed.
● [Generic Size]: Select the size from a list of generic sizes.
● [PDA Size]: This is an image size (160 x 160) that can be displayed on most PDAs.
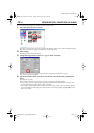
4 Click [OK].
● If you select more than one still image in step 1, a confirmation message appears.
•If you want to apply the same format to all images, click [Yes].
•If you do not want to apply the same format, click [No]. The first image is saved. Then, select the image
size for each image.
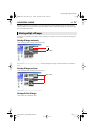
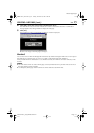
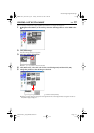
The image size is changed to the selected size. If the vertical-to-horizontal ratio was changed, the blank
spaces are shown as black.
Changing the image size
M4D3+DSC_Soft.book Page 16 Tuesday, December 16, 2003 2:08 PM