


24 EN
Master Page: Left-Heading0
CAPTURING VIDEO
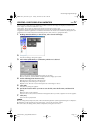
When a camcorder is connected to the PC with a USB cable, the video from the camcorder can be recorded
on the PC’s hard drive instead of on tape or in a memory card (Only for D.S.C. equipped models) — real-time
capture.
NOTE:
There are differences in the following procedures whether your camcorder is equipped with D.S.C. (Digital
Still Camera) features or not.
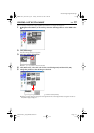
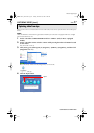
1 Make sure that no cassette is in the camcorder. (Only for D.S.C. non-equipped models)
2 Connect the camcorder to the PC with a USB cable.
● Refer to “Connections (Windows
®
)” or “Connections (Macintosh)” in “SOFTWARE INSTALLATION
AND USB CONNECTION GUIDE”.
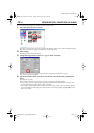
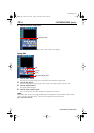
3 Set the camcorder’s VIDEO/MEMORY Switch to “MEMORY”. (Only for D.S.C. equipped
models)
4 Set the camcorder’s Power Switch to “A” or “M” while pressing down the Lock Button
located on the switch.
The camcorder is now on.
“ ” appears on the camcorder’s LCD monitor.
● If “ ” does not appear, install [USB Video Streaming driver]. Refer to “Software Installation
(Windows
®
)” and “Software Installation (Macintosh)” in “SOFTWARE INSTALLATION AND USB
CONNECTION GUIDE”.
NOTE:
The procedure is different when reading or writing a memory card. (Only for D.S.C. equipped models)
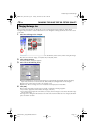
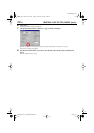
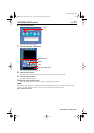
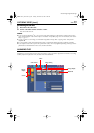
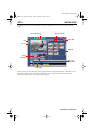
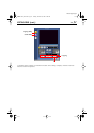
5 Click [Start], go to [All Programs] or [Programs] – [PIXELA] – [ImageMixer], and then click
[ImageMixer Ver.1.7].
● For Macintosh, double-click the [ImageMixer] icon on the PC.
ImageMixer starts up.
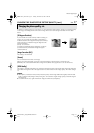
Capturing video in real time
CONTINUED ON NEXT PAGE
M4D3+DSC_Soft.book Page 24 Tuesday, December 16, 2003 2:08 PM