


A-61167 September 2002 C-9
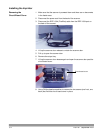
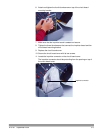
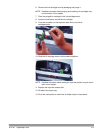
6. Remove the ink cartridge from its packaging and purge it.
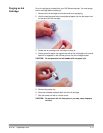
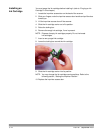
NOTE: Detailed information about purging and installing ink cartridges may
be found later in this chapter.
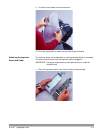
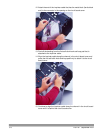
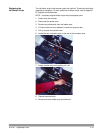
7. Place the purged ink cartridge in the ink cartridge carrier.
8. Lower the locking bar around the ink cartridge.
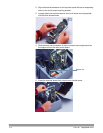
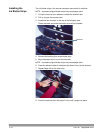
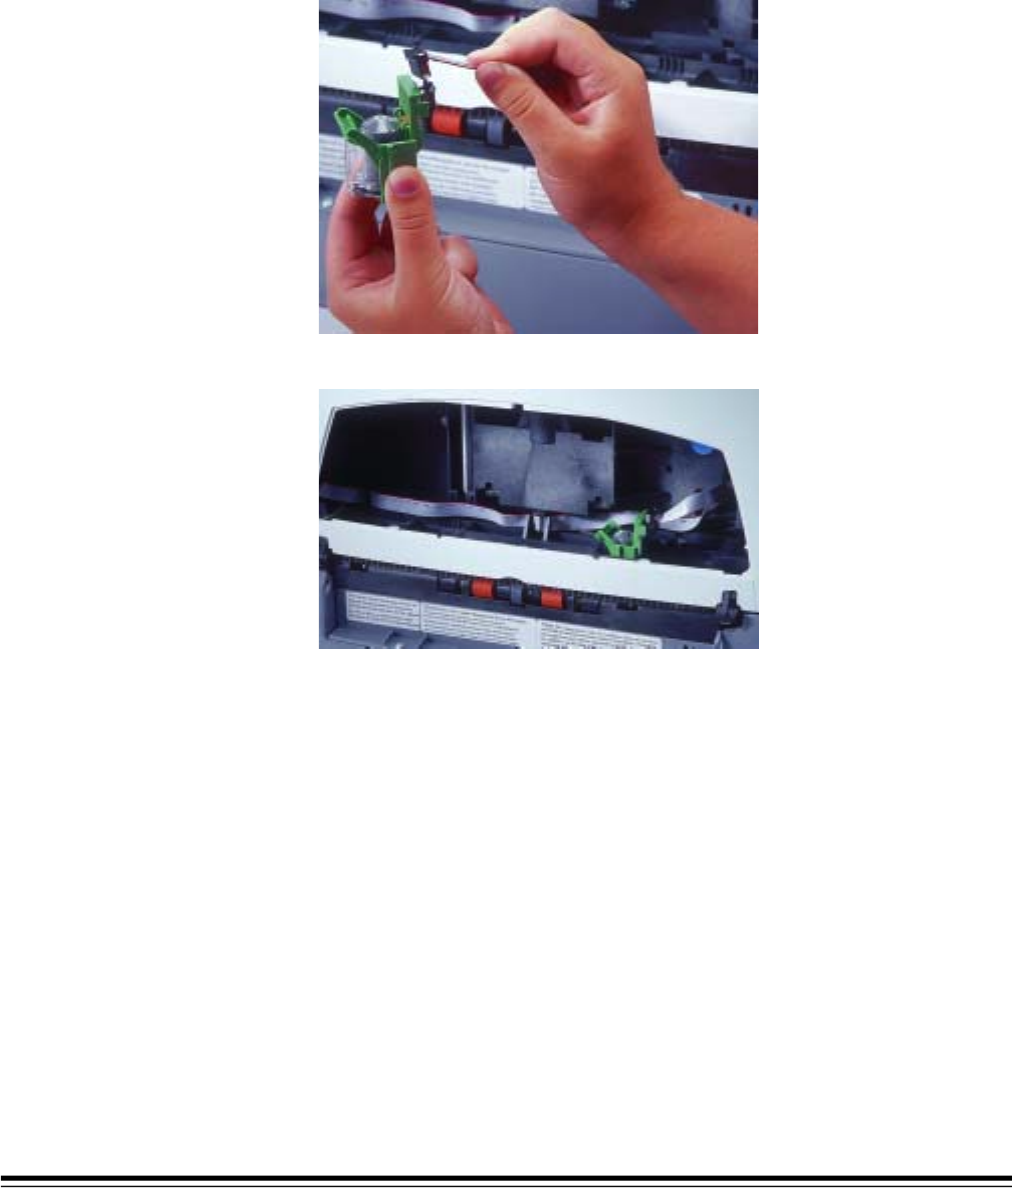
9. Push the connector on the imprinter cable firmly into the ink
cartridge carrier.
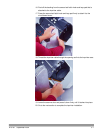
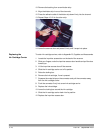
10. Slide the ink cartridge carrier into the desired position.
NOTE: Detailed information about setting the imprinter position may be found
later in this chapter.
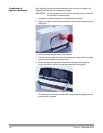
11. Replace the imprinter access door.
12. Re-attach the output tray.
13. Go to the next section to install the ink blotter strips in the scanner.