


Printing on the ETS
ETS Installation Guide 33
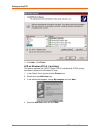
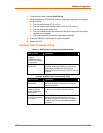
Figure 5-1. Adding /etc/hosts Entry
xxx.xxx.xxx.xxx ETS_xxxxxx
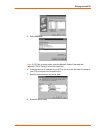
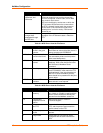
2. Add the host print queue to the /etc/printcap file. The punctuation shown in
Figure 5-7 is required, and no extra spaces should be added.
Figure 5-2. Adding /etc/printcap Entry
ets_prt|Printer on LAB ETS:\
:rm=ETS_xxxxxx:\
:rp=ETS_xxxxxx_TEXT:\
:sd=/usr/spool/lpd/ets_prt:
This will create a host queue named ets_prt. The rm parameter is the name of the
ETS in the host's address file, the rp parameter is the name of the service as it
exists on the ETS, and the sd parameter specifies the name of a directory used to
hold temporary spooling files.
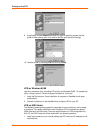
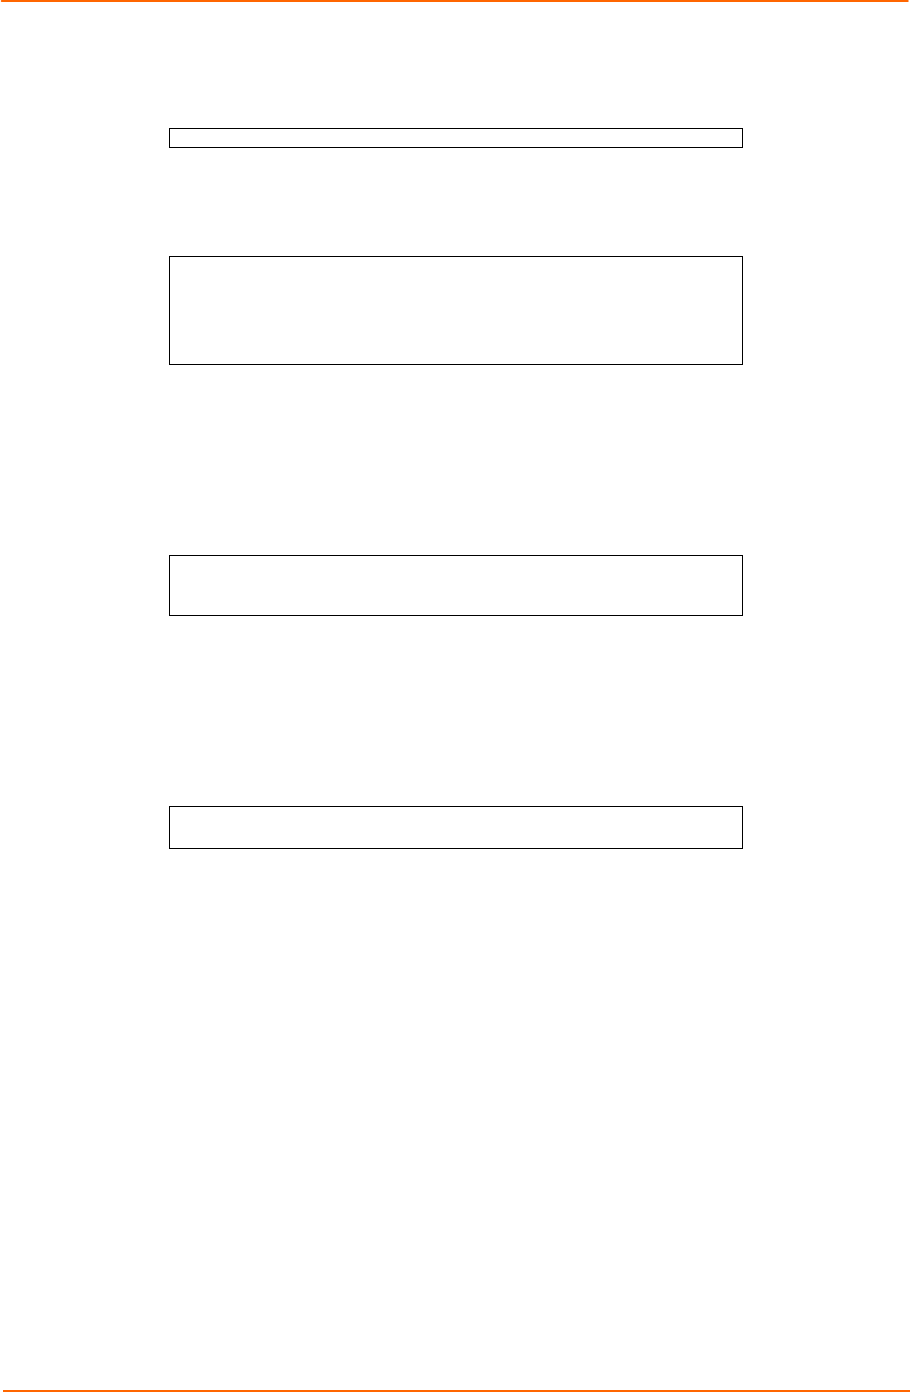
3. Create a world-writable spooling directory using the mkdir command.
Figure 5-3. Creating Spooling Directory
# mkdir /usr/spool/lpd/ets_prt
# chmod 777 /usr/spool/lpd/ets_prt
4. If desired, use the mx option to allow unlimited size files to be printed and the sh
option to prevent header pages from being generated. See the host's
documentation or man pages for more information on the format of the printcap
file and how to create the spool directory.
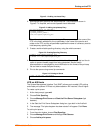
5. Print to the queue using normal lpr commands:
Figure 5-4. Printing to Queue
% lpr –P ets_prt /etc/hosts
LPR on AIX Hosts
The System Management Interface Tool (SMIT) allows you to enable LPD printing
and create print queues. LPR has only been tested on AIX versions 3.2 and higher.
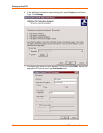
To create a print queue:
1. At the host prompt, type smit.
2. Choose Print Spooling.
3. Choose Manage Print Server and Start the Print Server Subsystem (lpd
daemon).
4. In the Start the Print Server Subsystem dialog box, type both in the first field.
5. The message “The lpd subsystem has been started” will appear. Click Done.
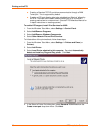
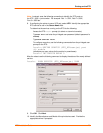
To add a print queue:
1. From the main window, choose Print Spooling.
2. Choose Manage Print Server and Manage Print Queues.
3. Choose Add a print queue.